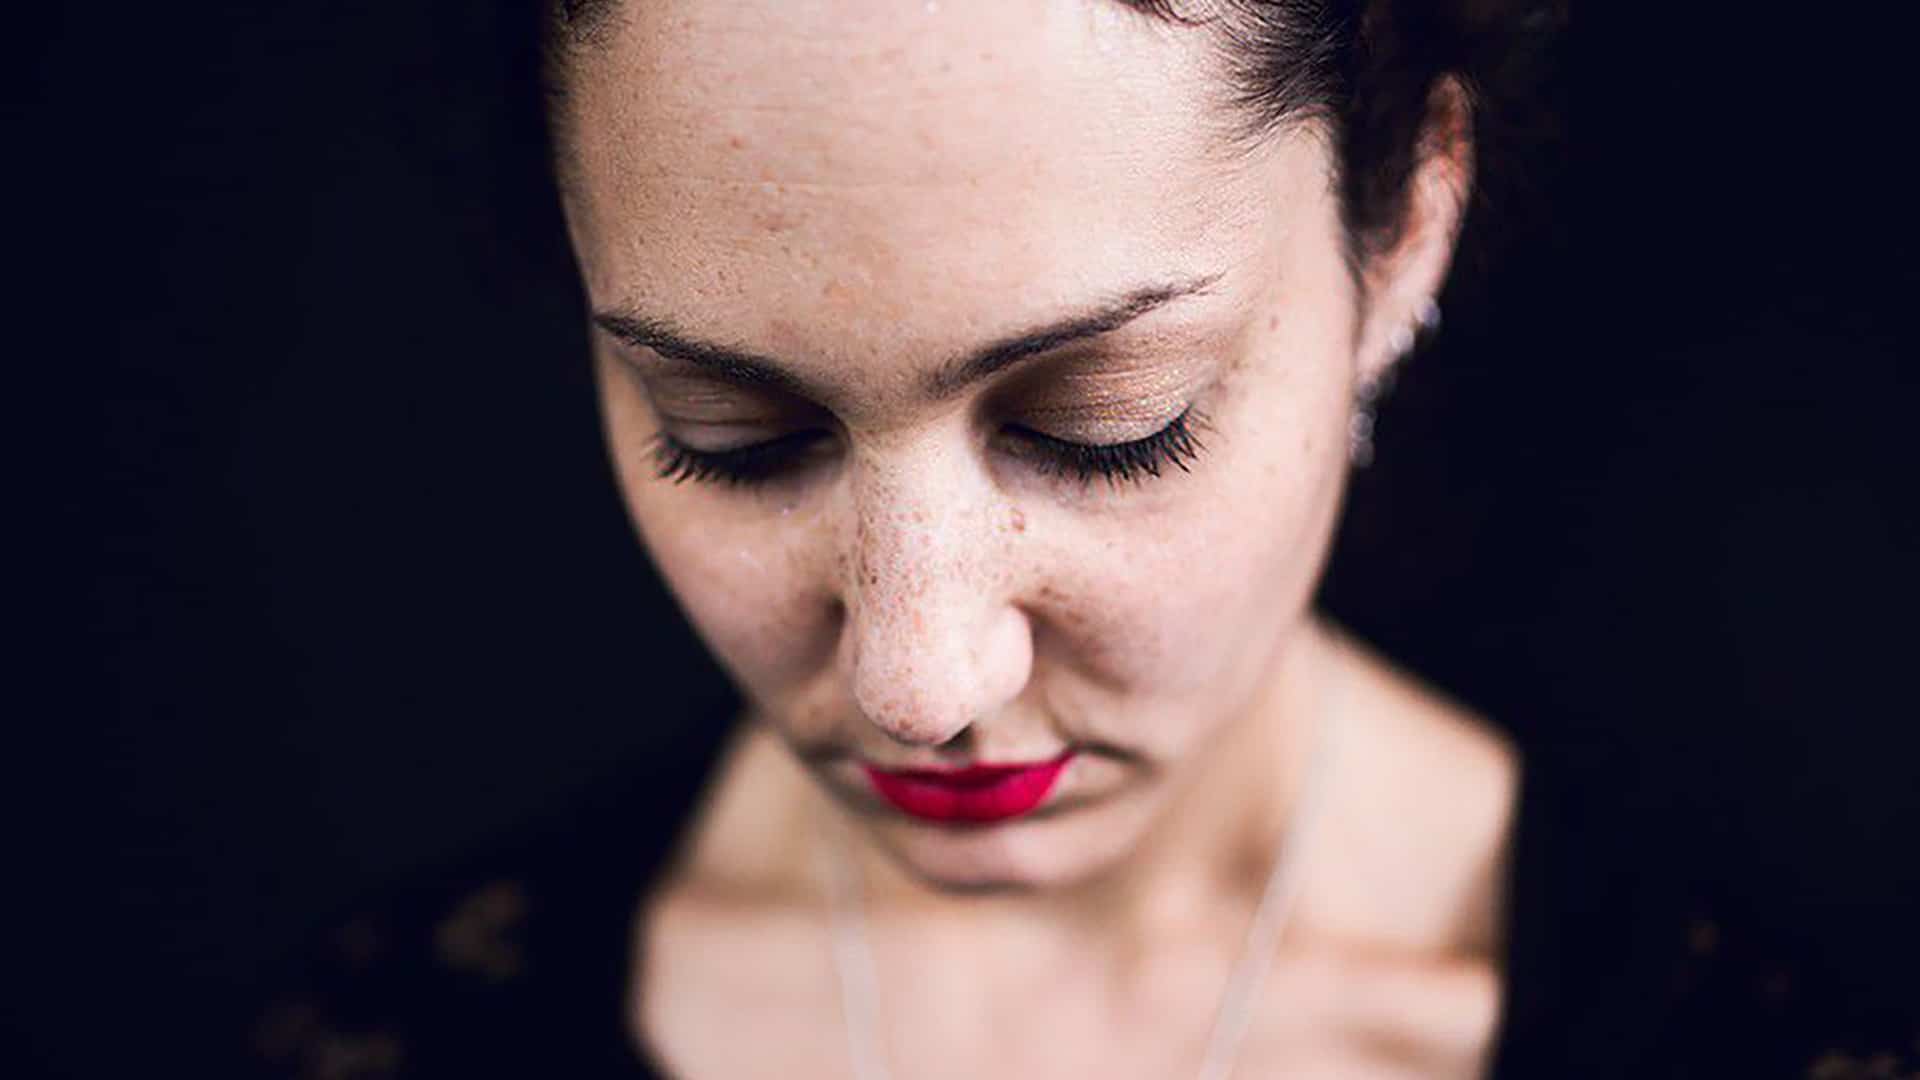
© Céline Nebor
Choosing the light of your portrait: hard or soft light?
If we decide to create natural light portraits, it is essential to take advantage of the right moment to make the portrait. Bright, unfiltered sunlight, for example, which hits the subject directly, is very harsh and makes it difficult to bring out facial features.
Any shadows will be extended and prominent. You may want to deliberately play with this kind of light for dramatic effects or use the shade of a background element, which can be also incorporated into the composition.
If you are going to work with harsh light, try to aim for a sunset or sunrise, when the light falls at a low angle, allowing for a high-contrast and warm tones, ideal for your natural light portrait.
f/5,6 / 1500 s / 320 ISO / 37 mm © Céline Nebor
Soft light will make your task much easier. It facilitates proper exposure, uniform contrast, and is well suited to any type of picture. You should favor cloudy days, grey skies, and overcast evenings for best results. With this type of light, you can place your subject anywhere in the setting of your choice.
If the light is too low or does not reach the subject directly, use a reflector to easily highlight selected zones, eliminate unflattering shadows, and avoid tweaking exposure in post-production.
Setting the mood in natural light portrait photography
A natural light portrait can be a very simple thing: a blurry background of little interest that offsets the subject. However, the choice of setting and mood can boost your creativity and bring your portraits to a new level.
Take the time to scout your location and choose an inspiring setting. For greater depth, stay away from smooth, flat backgrounds, such as walls (unless they really add something to the picture).
Instead, look for a backdrop with more texture. Play with outdoor elements, colors, and lights to better foreground your model.
f/2,8 / 1/80 s / 50 ISO 70 mm © Céline Nebor
Wide apertures
In terms of camera settings, wide apertures produce more interesting natural light portraits (f/1.4, f/1.8, f/2.8) because they allow for a shallow depth of field. The lower the f-stop value, the larger the aperture, which narrows the depth of field. This allows for a focused zone that neatly offsets the subject against the background.
This is a technical trick commonly used in photography, especially in portraiture. Constant-aperture lenses will be your best allies, even if they are heavier than most.
f/2,5 / 1/160 s / 250 ISO / 85 mm © Céline Nebor
Long-focus lenses in natural light portrait
To keep distortion to a minimum and further accentuate a shallow depth of field, always use long-focus lenses in natural light portrait photography.
The 50mm is a basic portrait lens that approximates the human eye. The 85mm or 135mm lenses are also valued in portraiture. The greater the focal length, the narrower the depth of field. Coupled with a wide aperture, such a lens will give you beautiful, creamy backgrounds.
Long-focus lenses, however, call for a certain distance from the subject. Wide-angle lenses may also be used in this configuration. The distortion resulting from this type of lens may be used to generate a particular effect when the camera is brought closer to the subject.
f/3,5 / 1/160 s / 100 ISO / 75 mm © Céline Nebor
Focusing on the eyes
For a successful natural light portrait, focus your attention on the subject’s eyes. They are what we see first when we look at pictures and they are a guiding point in the image.
Modern cameras are often designed to detect the eyes, the face, and even the subject’s smile. Take advantage of this feature, especially if your subject is moving. Other functions make it possible to achieve high accuracy, even if they require manual control, such as focus peaking, which is a live preview that highlights the in-focus zone in the image, or focus zoom, which helps to verify the focus area.
f/3,2 / 1/100 s / 200 ISO / 75 mm© Céline Nebor
Off-centering the subject
Portraiture offers a wide range of framing choices. While the traditional format is vertical, a horizontal view may prove interesting in natural lighting portrait photographs, depending on background elements you want to include.
Consider placing your subject off-center, rather than placing them consistently in the middle. This will allow you for a more dynamic image that accentuates depth-of-field effects and just mixes things up a bit.
Relating to the subject
Working with a model implies above all an exchange. It is important to make the subject feel at ease, relaxed. A natural light portrait photographer should be aware of the model’s comfort and keep an appropriate distance: some people will be fine with close-ups, while others will feel apprehensive.
Listening to your subject and letting them speak is key. If your subject is not a professional model, show them your first images to reassure them and give them an idea of what the final product will look like. When working with a novice, don’t hesitate to guide them so they don’t feel left out of the decision-making process.
f/5,6 / 1/100 s / 160 ISO / 85 mm © Céline Nebor
Portrait photography using natural light is above all an exchange. By gaining control of the light, and with the help of a bit of technical savoir-faire, such as a choice of apertures, you will be able to make beautiful pictures painlessly. Give it a try!
By Céline Nebor