Blind Magazine : photography at first sight
Photography at first sight
Search
Close this search box.
How to set up your camera ?

Camera Settings: How to begin your camera setup?

Are you the proud owner of a new camera but unsure where to start, or even how to set it up? Here are some simple camera settings tips on how to navigate the menus and make your camera user friendly.
Camera settings are very important when first getting a new camera

Photo by Imansyah Muhamad Putera on Unsplash

Basic camera settings

If you have just unpacked your new toy, it is generally recommended to fully charge the battery before you start using your device. Once the battery is installed, the device automatically gives you prompts to set the language, time zone and date and time, which we recommend doing right away. 

This camera setting enables you to have an accurate time stamp on your files, which can come in handy when it’s time to organize your images, for example. In most cases, this is the very first step to take. Once you’ve done this, you can start taking pictures right away. 

We recommend, however, that you go through your camera’s menu and familiarize yourself with its settings so that you can set up your camera based on your personal usage and needs.

Setting the format, definition and image quality

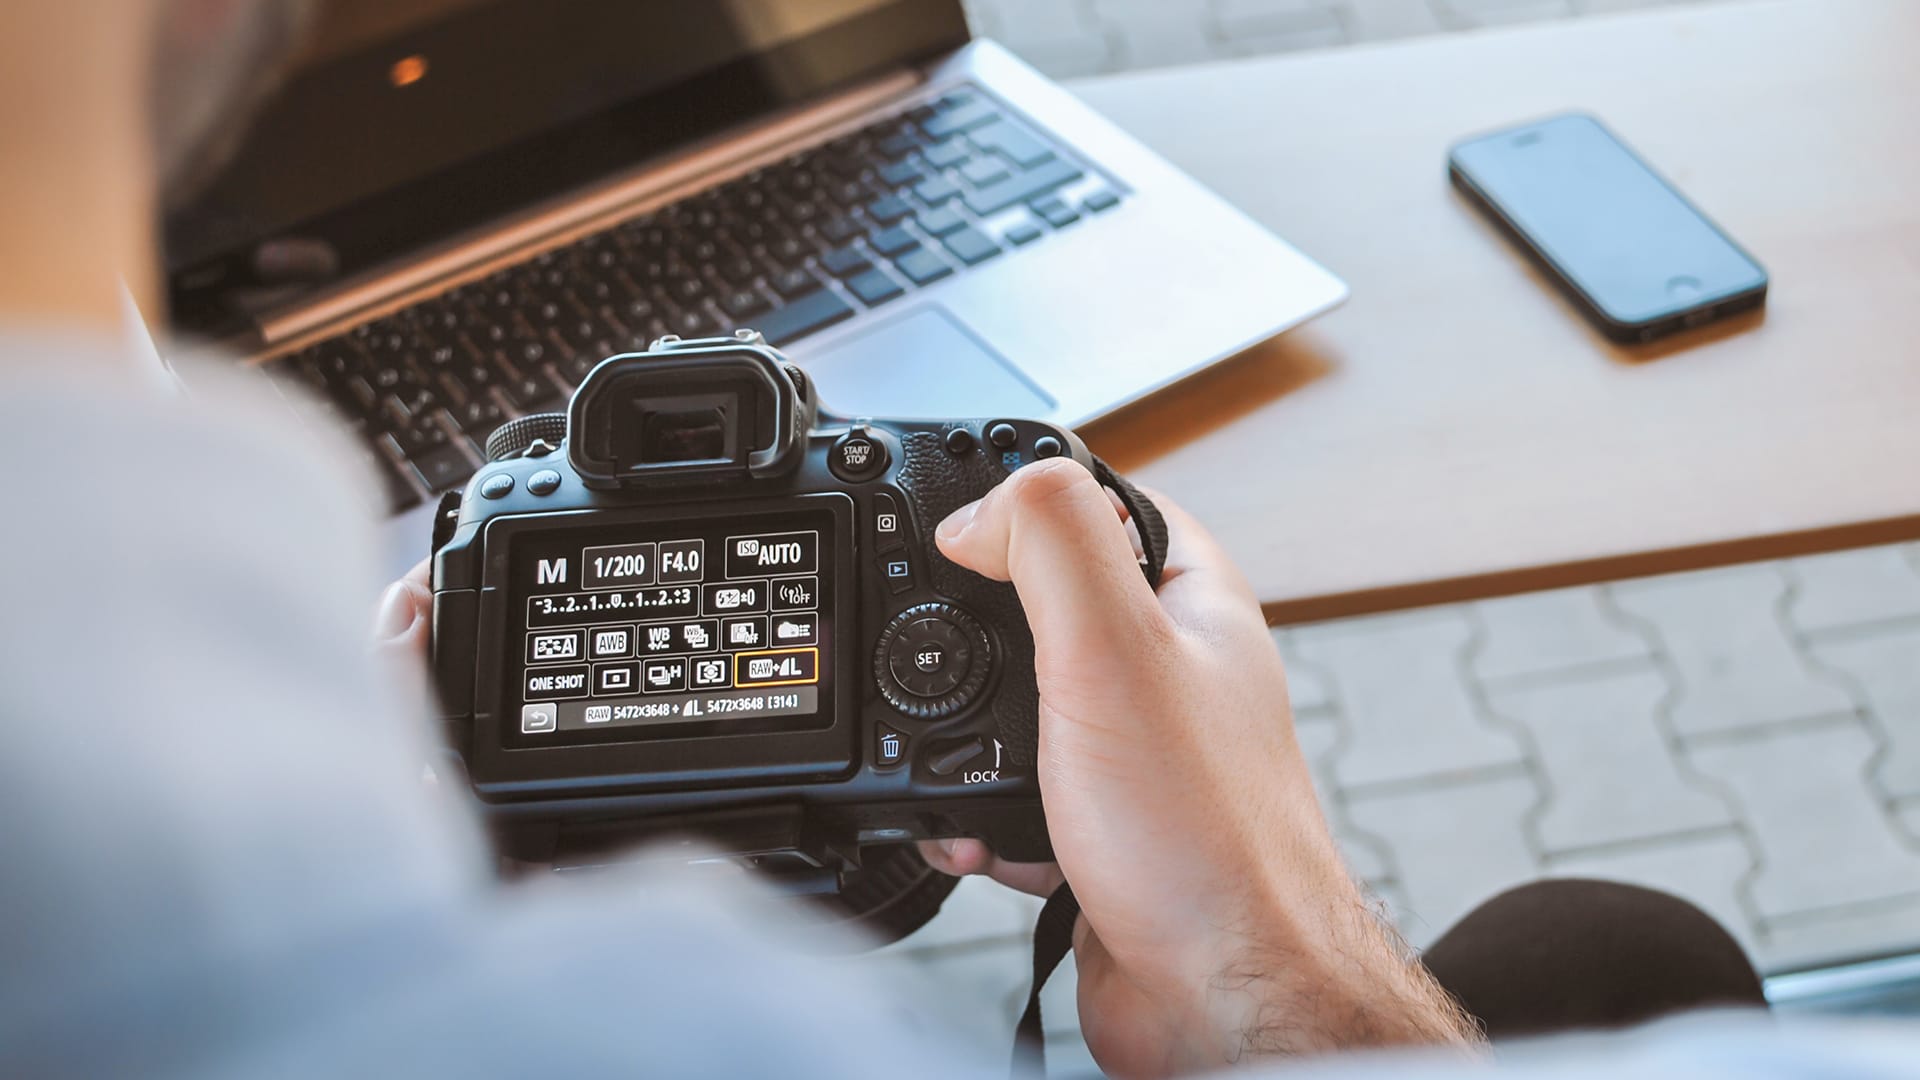
Before you start taking pictures, consider setting the image size and quality. By default in your camera settings, the JPG format is set at the 3:2 or 4:3 ratio depending on the type of sensor. You can change this ratio to a more original format like 1:1 (square) or 16:9 (video format). You can also select a more or less qualitative type of JPG. 

As a general rule, the definition of the camera is programmed to the highest level, but you can reduce it if you want lighter files, for example, to increase the number of shots you can store on your memory card. Also, in your camera setup, take into account the final destination of these images (printed format, web use, personal, professional use, etc.) and select the highest definition available for professional projects or files you intend to print out.

If you wish to save your images in RAW format, which is an uncompressed file format that is very useful for editing, select the option RAW + JPG. If you’re shooting videos, remember to set the definition and the frame rate of your films ahead of time. 

It is important to do this ahead of time, since the default camera settings are not always suitable and these are settings that you won’t change much later if they are suitable for intended use.

Working on your camera setup early allows you to take great photos from the get-go

Photo by Warren Wong on Unsplash

Managing the autofocus

Determining how autofocus is managed is also a good place to start with your camera setup. Depending on the camera, you will be able to manage the autofocus in different ways since the focus mode can be done in the center, on the left, on the right, it can be moved via a scroll wheel or a joystick, and it can also be very small or a little bigger. 

Try it out and choose the focus mode that works best for you. You may have to change it depending on the type of shot you’re taking, but this allows you to better understand your camera settings later and therefore react accordingly.

Customizing the shortcut keys

Mid- and high-end cameras come with several buttons that can be customized and that are located either on the top of the device or at the back. They have different names (Fn, C1, C2, etc.) and you can assign easy-to-access functions to them without having to go back to the main menu. 

These customizable keys are great camera settings tools for optimizing your shooting and can save you precious time. So don’t hesitate to assign them functions that you use regularly, whether it’s to quickly switch from automatic focus to manual focus, to easily change formats, to assign a filter or color profile, etc.


On some devices, the control scroll wheels can also be customized. You don’t have to configure these keys from the start, but remember that they do exist.


Photo by ShareGrid on Unsplash

Creating your customized menu

Just like the shortcut keys, some cameras come with the option of creating your own customized menu for quick access to your favorite settings. Feel free to configure it as you see fit. Photographers and videographers can thus design a menu specifically intended for photo or video, which is not always the case with the camera’s factory settings, which can sometimes be confusing and not very intuitive in their layout.

Camera set up : In conclusion

There are many ways to set up your camera. The above tips are the first steps to take to customize your camera to fit your needs. You can go even further by entering your own metadata, assigning dual functions, etc. 

While browsing the menus may sound a bit boring, it is nevertheless an important step in understanding how your device works, understanding its capabilities, and adjusting its settings to suit your own personal needs as you go. Using the shortcut keys and setting up the camera ahead of time will save you considerable time and optimize your use of it for the most effective shots.

A good camera set-up makes it easier to take the photos you really want to take

Photo by JESHOOTS.COM on Unsplash

By Céline Nebor

Don’t miss the latest photographic news, subscribe to Blind newsletter.