Blind Magazine : photography at first sight
Photography at first sight
Search
Close this search box.
Taking your first steps in a darkroom

Taking your first steps in a darkroom

Now that you have all the keys in hand to take up film photography, you may decide to start developing your film at home. Here are some tips on getting started that will guide you through the various steps so you can see your images appear as negatives.

​​​​Immo Wegmann on Unsplash

Start with black and white film

If this is the first time you’re embarking on DIY development, we strongly recommend that you start with black and white film, which is much more technically accessible and easier to set up. C-41 color development can also be done at home, but it requires much more precise temperature maintenance. Black and white development is therefore ideal for beginners, as they can learn the basics and understand the process of film development via simpler steps.

Get the right equipment

To improvise a darkroom in your home, the first step is to select a closed room, preferably with access to water (such as the bathroom) and to block any light coming in through the door and windows. If you don’t have this option, you can buy or make a darkroom film-changing bag yourself, as long as it is lightproof. Only the very first steps, which consist of removing the film from the canister, loading it onto the spool reel and placing the spool reel in the developing tank, need to be carried out in total darkness.

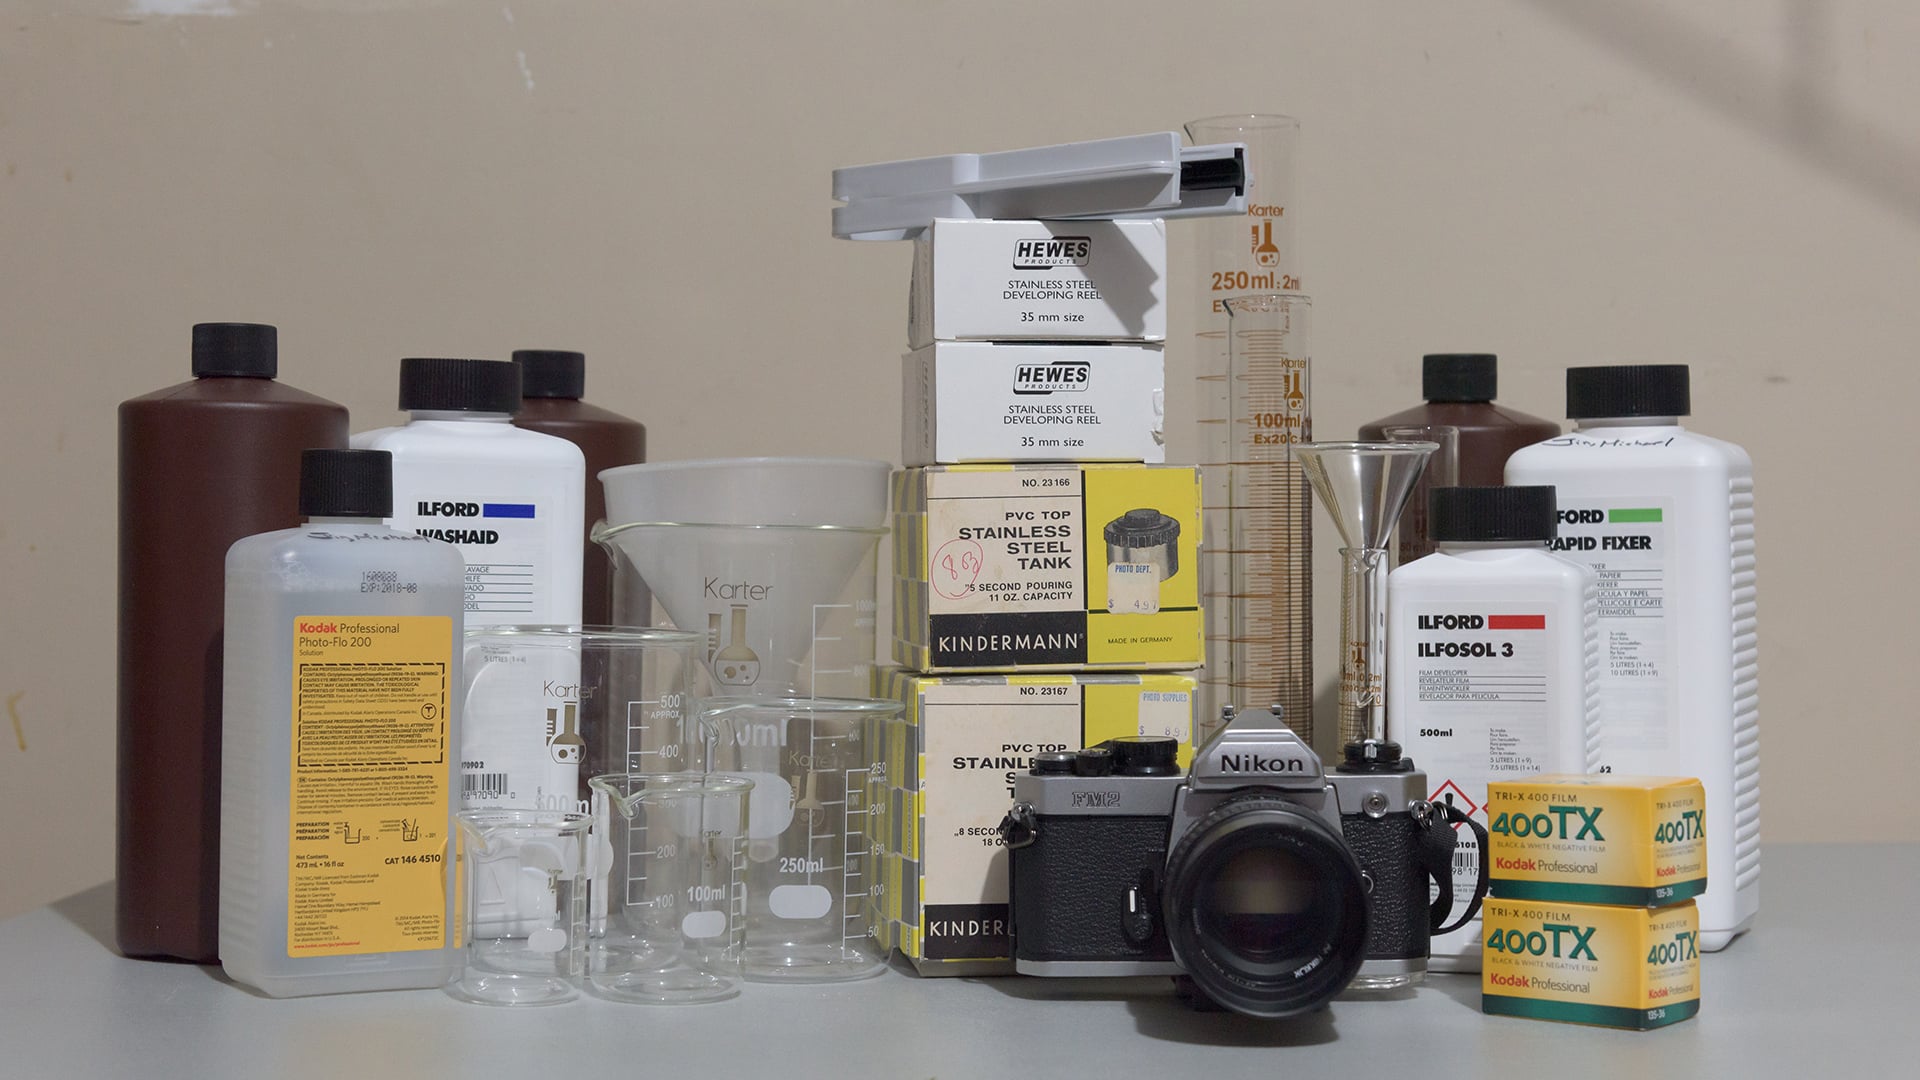
For the rest of the process, it is vital to have the right equipment. Here is what you will need for your first film development experience:

  • A bottle opener to open your film canister
  • A spool reel, onto which you will load your roll of film when you take it out of its canister
  • A pair of scissors to cut out the start and end of your film
  • Graduated containers for measuring and preparing dilutions
  • A development tank, one of the main elements for your darkroom since it will allow you to insert your chemicals and perform your various baths
  • A stopwatch to measure the time required for development
  • Tongs, clothes pins or clips for drying
  • Gloves and protective glasses

The different chemical baths

Processing a roll of black and white film involves 3 main chemical baths and one rinse step. Putting your film in the developer, the stop bath and the fixer are the essential steps in developing your film and it is therefore key to have the right chemicals.

Before starting the development process, you will also need to make sure you have the right dilution for your different baths. The dilution ratio is generally indicated on the bottles and depends primarily on the capacity of your tank and the number of rolls of films to develop. Take the time to do this step correctly, as the wrong dosage can affect the development of your entire roll of film. Performing the calculations in advance and simulating the preparations will make your job easier.

For those who wish to take development further, there are additional options such as a wetting agent, which facilitates drying and avoids traces of lime, but it is not a mandatory step.


JR Korpa on Unsplash

The development

Here is a how-to video that does a good job demonstrating the various steps in developing a roll of black and white film. If this video isn’t clear enough for you, the Internet is full of how-to videos and articles. Carefully write down the steps in a notebook and the calculations required for your own photographic processing.

Follow the dosage and the steps

Just like with baking, before you can start experimenting, it is essential to strictly respect the dilution ratios, the time spent in the different baths, and to make sure you mix well during development. It may be that your negative film turns out very dark or on the contrary very light after it’s developed; this does not necessarily mean that you didn’t process it correctly, and could mean instead that your images were overexposed or underexposed when you took the shot. If such is the case, it will then be necessary to adjust your settings on your camera and make better use of the integrated features to obtain good negatives.

Is a home darkroom the right choice for you?

Developing film at home can save you a lot of money if you shoot on film regularly and if you have several rolls films to develop per month, for example. It can also introduce you to this skill and help give you control over the entire production chain of your images, which, let’s face it, is rather rewarding. However, it can quickly become expensive if it is just a question of processing one roll of film from time to time.

In conclusion

For your first few attempts at film development, use black and white film. Make sure you have a lightproof space for the first steps, the right equipment and the basic chemical baths (developer, stop bath, and fixer) so that you can complete your development in its entirety. Also make sure to follow the safety instructions and the dilution ratios to the letter. Development is a process that requires precision and thoroughness. It might sound a little daunting and tedious, but it ultimately comes down to following a recipe that has been around for decades now and works beautifully. 


Michael Jinon on Unsplash

By Céline Nebor

Don’t miss the latest photographic news, subscribe to Blind's newsletter.