Blind Magazine : photography at first sight
Photography at first sight
Search
Close this search box.
An introduction to shooting on film

Film Photography: An Introduction to Shooting on Film

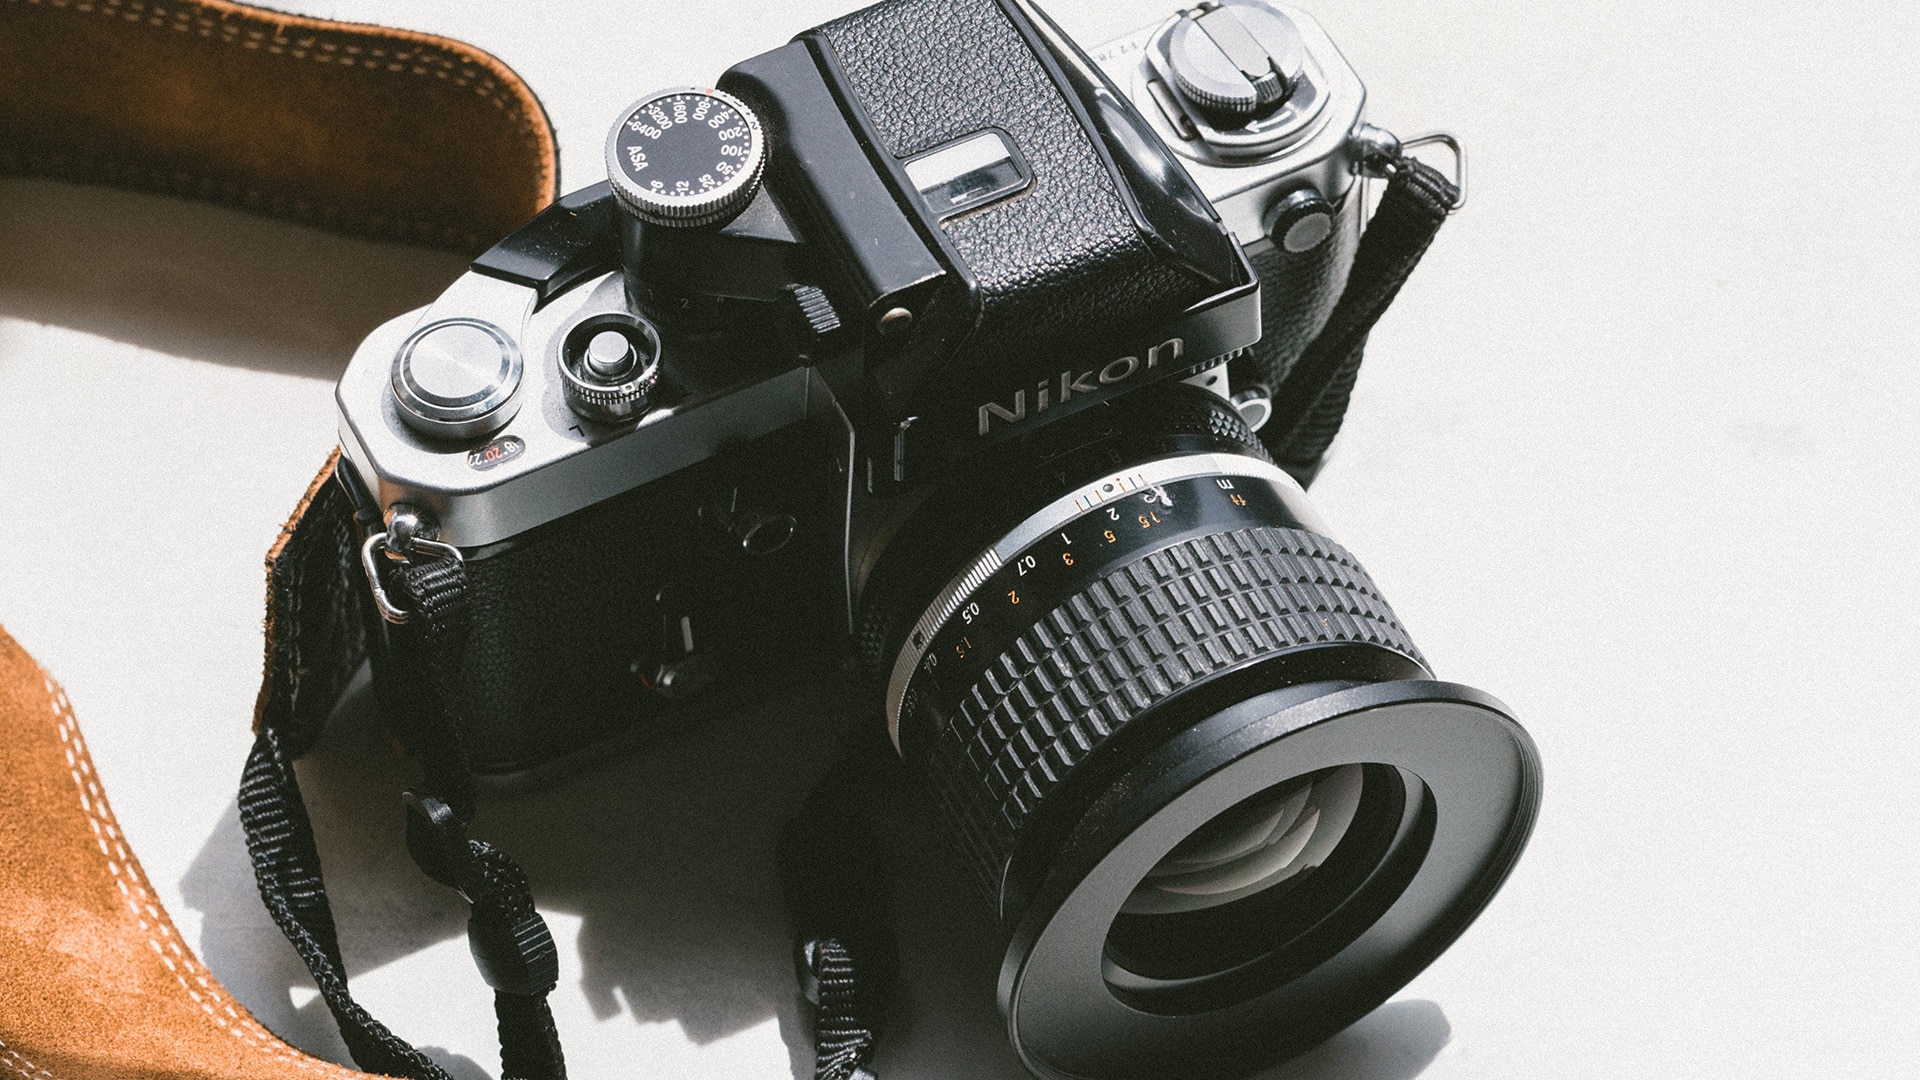
Film photography will never go away, and though it gains and loses popularity over time periods, it remains an essential practice of the trade, one that is both technical and playful and appreciated for its grain and the vintage look it can give to images. While it still appeals to people with nostalgia for the past, it is also increasingly attractive to newer generations. Here are some tips for beginners who want to try their hand at shooting for film.

© Alfonso Reyes on Unsplash

Learning how to load a roll of film

If you already have a camera, whether manual or automatic, the first step is to learn how to properly load your roll of film. It may seem a bit daunting at first, but it’s actually a lot easier than it looks. 

The main thing is to make sure that you line up the sprocket holes with the sprockets so that the roll of film unwinds correctly once the device is closed. Otherwise, you risk losing all your shots and taking pictures of nothing. 

If you have any doubts upon loading the film into your camera, check out a how-to video or ask for advice directly from a photo lab in order to get the hang of things.

Shooting Film: Selecting the right ISO sensitivity

ISO sensitivity is a key setting in film photography. Most cameras are equipped with an ISO sensitivity dial that can range from ISO 25 to 3200 and is usually located on top of the camera. 

To find out how to set this parameter correctly, refer to the ISO sensitivity indicated on your roll of film. It’s easy to spot as it’s written in large print on each roll of film (not to be confused with the number of shots in a roll). 

Once you’ve identified the ISO sensitivity, find the corresponding number on your dial, so that your camera takes consistent exposure measurements. This will allow you to have a properly exposed image when shooting film. If you have not made this adjustment or have done so incorrectly, the image may be over- or under-exposed. 

It’s possible to make up for this mistake during the development process if it’s not a big discrepancy, but with the right setting from the get-go, you have a solid foundation on which to start.


© Camille Minouflet on Unsplash

Anticipating your settings

Shooting for film does not allow for as many margins of error as digital photography does. It is therefore essential to anticipate your settings, especially if your camera doesn’t come with an automatic or semi-automatic mode. To do this, use your camera’s exposure meter, it’s how you measure the light. 

Then observe (in the viewfinder) the exposure level indicator, which will tell you right away if your image is underexposed—via an indicator below 0—or over-exposed–via an indicator above 0. As its name suggests, this tool is a very useful indicator when shooting film, but one that is not suitable for all situations, especially in the case of images with high contrast, for example. 

It is nevertheless an excellent starting point for film photography and a frame of reference that shouldn’t be overlooked in order to get off to a good start.

Additional tips

When shooting photography with a film camera, make sure not to open your device once your film has been loaded and wound up. If you have made this mistake, chances are that the shots you already took will be unusable, since a single ray of light is enough to expose the sensitive surface of the film. 

The second tip is, after shooting for film, to keep your rolls of film in the fridge. This isn’t a requirement, but since they contain gelatin, it’s an effective way to prevent them from overheating. Just remember to take them out some time before use to avoid condensation.


© Wahyu Setiawan on Unsplash

Developing your film

If you’ve only just started shooting for film, we recommend having your first roll developed by a lab. This will allow you to see how it comes out and get an overview of the different possibilities in terms of development, printing and scanning. Ordering a contact sheet first, for example, is a great way to get an initial, miniature preview of all your images on paper, from which you can then select the images you want to have printed. 

If you didn’t correctly match the ISO sensitivity of your film with your camera’s settings, let the lab know so they can make adjustments during development. If the difference is minimal, you can do what is called “advanced processing” to compensate. This is a widespread technique, but it won’t necessarily correct every image every time.

In conclusion

Getting started with film photography is both simple and adventurous. It’s all about loading the film properly and paying more attention to your settings, especially if you have a manual camera. The first step, when shooting film, is to match the sensitivity of your film with the setting in your camera. Use your camera’s exposure meter and exposure indicator to get you started. The result may be a bit haphazard at first, but photography with a film camera requires a little practice, experimentation and patience.

This article is the first in a series devoted to film photography that will delve deep and address various other aspects, such as the choice of film, development, and experimentation. In our next article, we will explain how to choose the best kind of film for your images.


© Jakob Owens on Unsplash

By Céline Nebor

Don’t miss the latest photographic news, subscribe to Blind's newsletter.