Blind Magazine : photography at first sight
Photography at first sight
Search
Close this search box.
Best times to photograph

Golden Hour, Blue Hour: When is the Best time to take Pictures Outside?

There are certain moments during the day that naturally create more vivid colors and generate more beautiful light. The so-called blue hour and golden hour, more than any other time of day, are favorable to creating stunning images. We will show you when is the best time to take photos outside and how to take advantage of these unique moments.
Blue hour and golden hour are the best times to take photos outside

© Tyler Lastovich on Unsplash

The blue hour and the golden hour

What is golden hour? The golden hour is the brief moment after sunset and before sunrise. When the weather is clear, light and colors will be particularly photogenic. When the sun has just barely emerged above the horizon or is about to plunge out of sight, it emits particularly bright, golden light with a palette of hues running into pink. Golden hour time is not to be missed by any serious photographer.

The blue hour is lesser known among photographers, but it also produces spectacular effects, with especially intense, scattered blues, as it takes place just before dawn and just after sunset. In other words, the blue hour  follows the evening golden hour and foreshadows the morning one.

Golden hour and blue hour: Plan ahead

If you want to take advantage of those best times to take pictures outside, make sure to be ready in advance. Check the weather forecast and find out the exact times of sunset and sunrise to plan your shot. There are apps that will give you the precise times for the golden hour and the blue hour. 

This is a good way of staying on top of things, as these times vary depending on the season, your latitude, atmospheric pressure, etc.

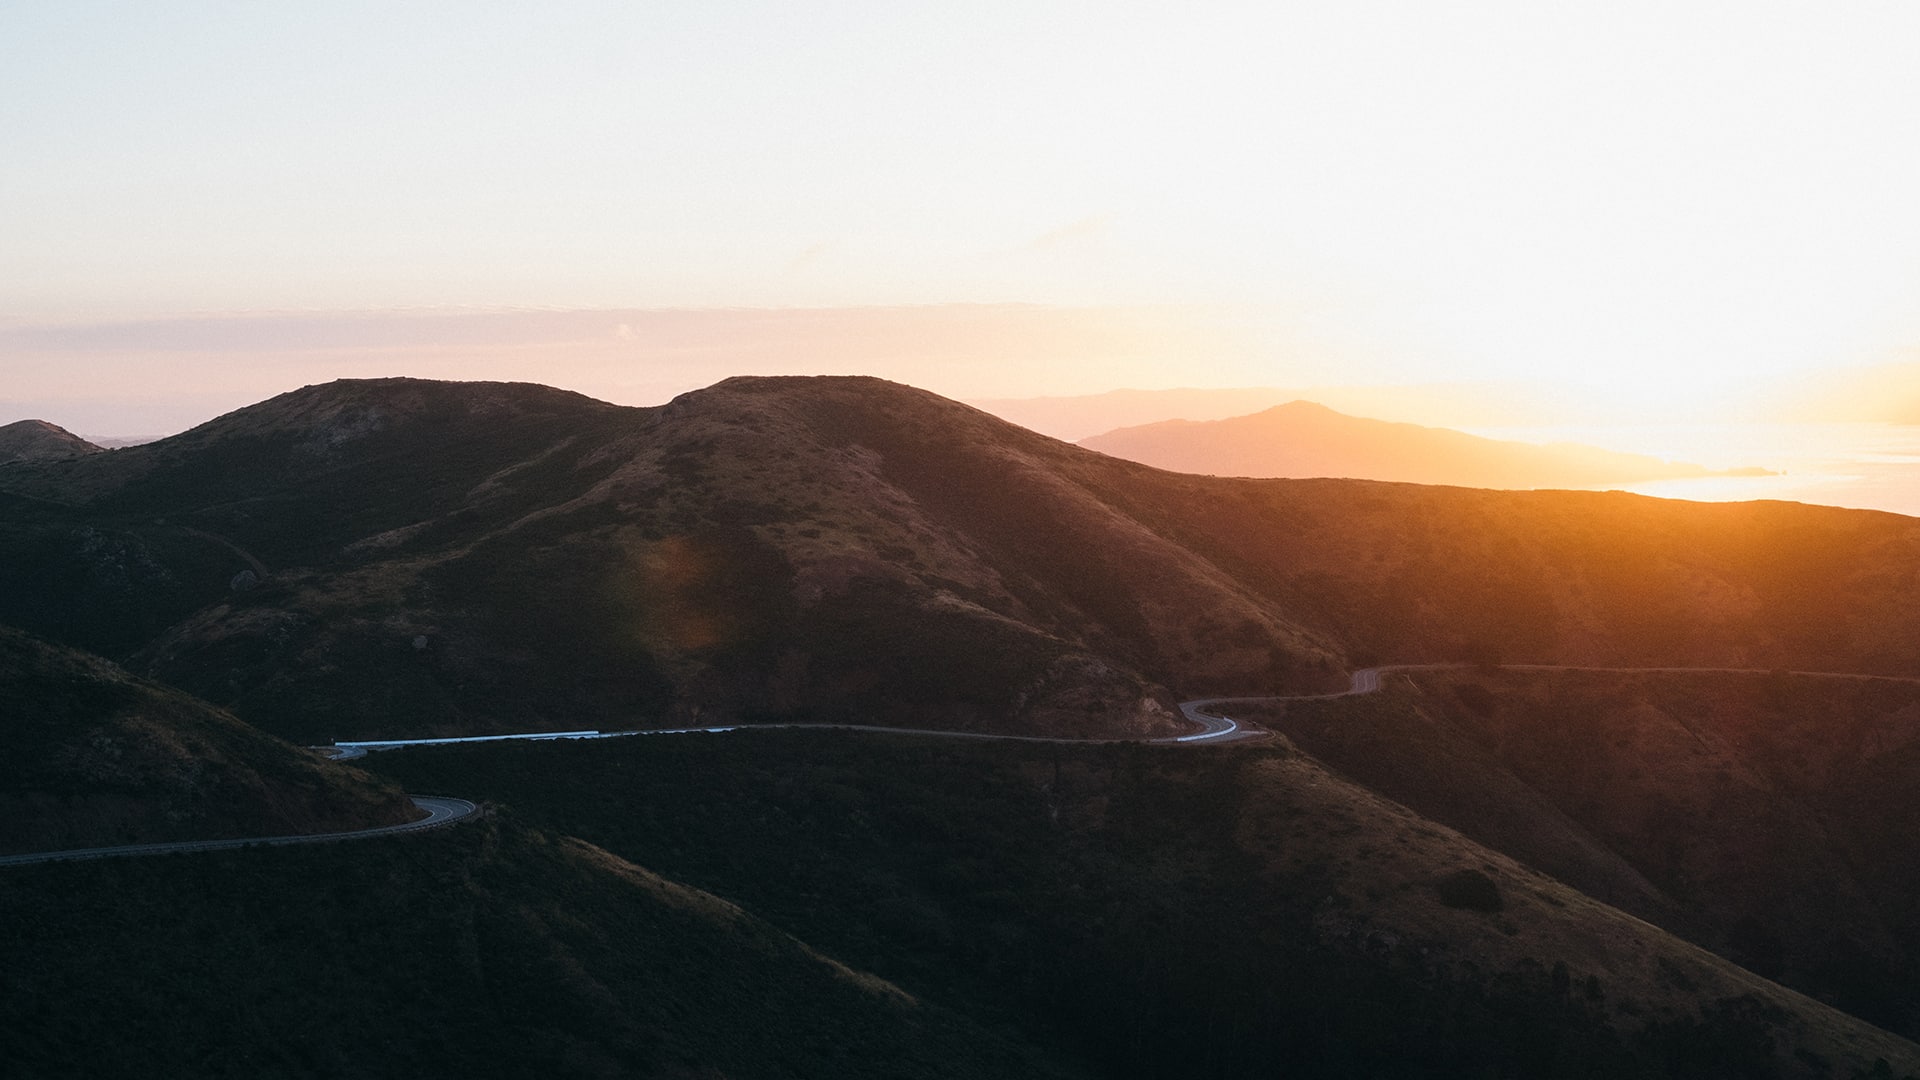
Golden hour time is among the best times to take pictures outside, offering beautiful colours

© Neven Krcmarek on Unsplash

Scout your location

The blue hour and the golden hour times are magical moments but they are also short-lived. If you do not wish to leave your site to chance, you must think on your feet and be efficient. To that end, scout your location in advance to best utilize your time and make the most of these special moments.

Set up you your equipment

If you have a certain type of image already in mind, frame your picture ahead of time. Use your tripod (especially during the blue hour) so as not to overextend your exposure. Set up your equipment in advance and test your exposure times to give yourself some wiggle room, but also be prepared to adjust your speed, aperture, and even sensitivity when the time comes.

Take RAW pictures

If you have an advanced camera, you might prefer to take your pictures in RAW format (uncompressed files) in order to preserve the highest level of detail. Golden hour time, for example, is particularly challenging for your camera because it produces stark contrasts and intense colors. 

It will be easier to balance your exposure in post-production with the RAW format than when working with JPGs which automatically process image data and result in the loss of precious information.

Blue light is a great way to have amazing contrasts in your outside photos

© Tobias Mrzyk on Unsplash

White balance

The golden hour will produce very warm color rendering. By contrast, during the blue hour, you should expect cold colors. Adjusting white balance during those times will make subsequent retouching much easier. In most cases, automatic white balance is sufficient, but you can customize it at will to gain in precision or to highlight the cold or warm hues in the resulting image. 

You can use presets to simplify your task (cloudy, daylight, etc.), but you may prefer to control white balance manually, which is easier than it might seem and allow you to take the best golden hour and blue hour photos.

Using a graduated filter

A graduated filter allows you to balance your exposure such that both the foreground and the sky will be exposed correctly. The filter will make the sky darker to create a more homogenous image and better bring out the contrasts and the colors. This will save you a lot of time in postproduction. 

Graduated filters also come in handy if you want to do a long exposure. If you are passionate about landscape photography, this will be your go-to accessory. You can also take advantage of bracketing, which consists in taking several shots, each at a different exposure, in order to obtain the correct exposure for each area of the image and then assemble your picture in postproduction.

Whether you are taking photos at the blue hour or at the golden hour, readiness is key. Check the weather and frame your shot ahead of time. To optimize your images, use a tripod, take RAW images, and adjust your white balance. Lastly, a graduated filter will be your best friend and help you achieve stunning results during those best times to take pictures outside.

As the best time to take photos outside, golden hour is an incredibly beautiful moment to capture

© Zach Jiroun on Unsplash

By Céline Nebor

Don’t miss the latest photographic news, subscribe to Blind's newsletter.