Blind Magazine : photography at first sight
Photography at first sight
Search
Close this search box.
Macro-photography: the art of photographing the miniature plant and animal world

Macro Photography: The Art of Photographing The Miniature Plant and Animal World

Have you heard of macro photo? Fascinating and intriguing, tiny fauna and flora have been a constant source of inspiration in every art form, including photography. Capturing a minuscule world and bringing its secrets to light requires some technical know-how and, above all, a lot of calm and practice. Here are a few tips on how to best approach macro-photography.
Macro photography is a specific type of photography, revealing the smallest things in our world

Photo by Jessy Hoffmann on Unsplash

What is macro photography? Macro-photography versus close-up photography

The difference between macro-photography and close-up photography lies in their relationship to magnification. 

What is macro photography? By definition, a macro photograph will have a minimum magnification of 1:1. The subject represented in the resulting image is thus at least its actual size. Using macro lenses with a higher magnification ratio makes it possible to enlarge the subject and see details invisible to the naked eye, which is generally the purpose of macro photography. 

Close-up photography, on the other hand, consists in shooting as close as possible to the subject in order to photograph it in its environment, without necessarily enlarging it. Close-up lenses work best at a minimal focus distance while offering little magnification.

Using a dedicated fixed focus lens for macro photography

There are a number of fixed focus lenses dedicated to macro photography. A macro photography lens will have a magnification ratio of 1:1 or higher. Macro lenses generally feature a long focal length, such as 60mm, 90mm, or even 150mm and up to 180mm. They are optimized for a short focus range, which means that the subject is photographed up close. 

Note that many fixed focus and zoom lenses labeled “macro” are in fact dedicated to close-up photography because their magnification ratio is lower than 1:1.

Example of a macro photo of a flower

Photo by Lirim Jahiu on Unsplash

Relying on manual focus for your macro photos

In macro photography, manual focus is key to obtaining sharp macro images of small subjects. Whether you’re working with animal or plant life, we recommend that you get comfortable using the manual focus ring of your macro lens. 

Take advantage of additional tools which will vary depending on your camera. Focus peaking and digital zoom, for example, facilitate manual focus.

Adjusting the depth of field in your macro photos

In a macro photo, as in any other situation, you must vary the aperture in order to manage the background blur and better foreground the subject. This requires adjusting the depth of field.

The larger the aperture (e.g. f/1.8), the wider the diaphragm and the more light reaches the lens. The depth of field is then shallow, and the zone of focus is very small, and vice versa. At the same time, the longer the focal length (e.g. 180mm), the shallower the depth of field. Depending on the type of lens you are using you must thus adjust the aperture to obtain the desired background effect in your macro images.

Pay attention, however, in macro photography, not to limit the focal plane excessively with an overly shallow depth of field, because you won’t get enough detail in your macro photo. Apertures of f/8 and f/11 are recommended, although the choice depends on the desired outcome.

Macrophotography can reveal insects, details of plants and flowers, or many other smallest things

Photo by David Higgins on Unsplash

Accessorize your gear for macro photography

There are a number of accessories that will enhance your macro photography experience. A tripod is a must-have tool: it allows you to steady your camera as you get close to your subject. Make sure that your tripod can be set up at ground level. 

In order to better light your subject in your macro photo, you can use external flashes, such as cobra flashes or ring flashes, which allow for more uniform lighting. To maximize the magnification of your lens, add a close-up filter. 

You might also take advantage of lens extension tubes which will move the lens further from your camera and closer to the subject: the closer you focus, the larger your magnification in your macro image.

Filters are another handy accessory: don’t hesitate to apply a variety of filters (UV, ND, etc.) to limit glare, reflections, and other distortions, to sharpen the image, and improve contrast.

Be patient : the key in macro photography

If this is your first attempt at macro-photography, patience will be your best friend. The art of taking time, observing, and waiting are skills necessary to shooting beautiful macro photos. Macro photography will also demand some trial and error before you get it right.

Macro photography is a careful mix of technique, practice, and patience. With the right camera, dedicated equipment, and a few basic concepts, you will be at ease photographing small subjects such as insects. Practice and patience are key to getting acclimatized to the environment and photographing nature’s smallest creatures without fear.

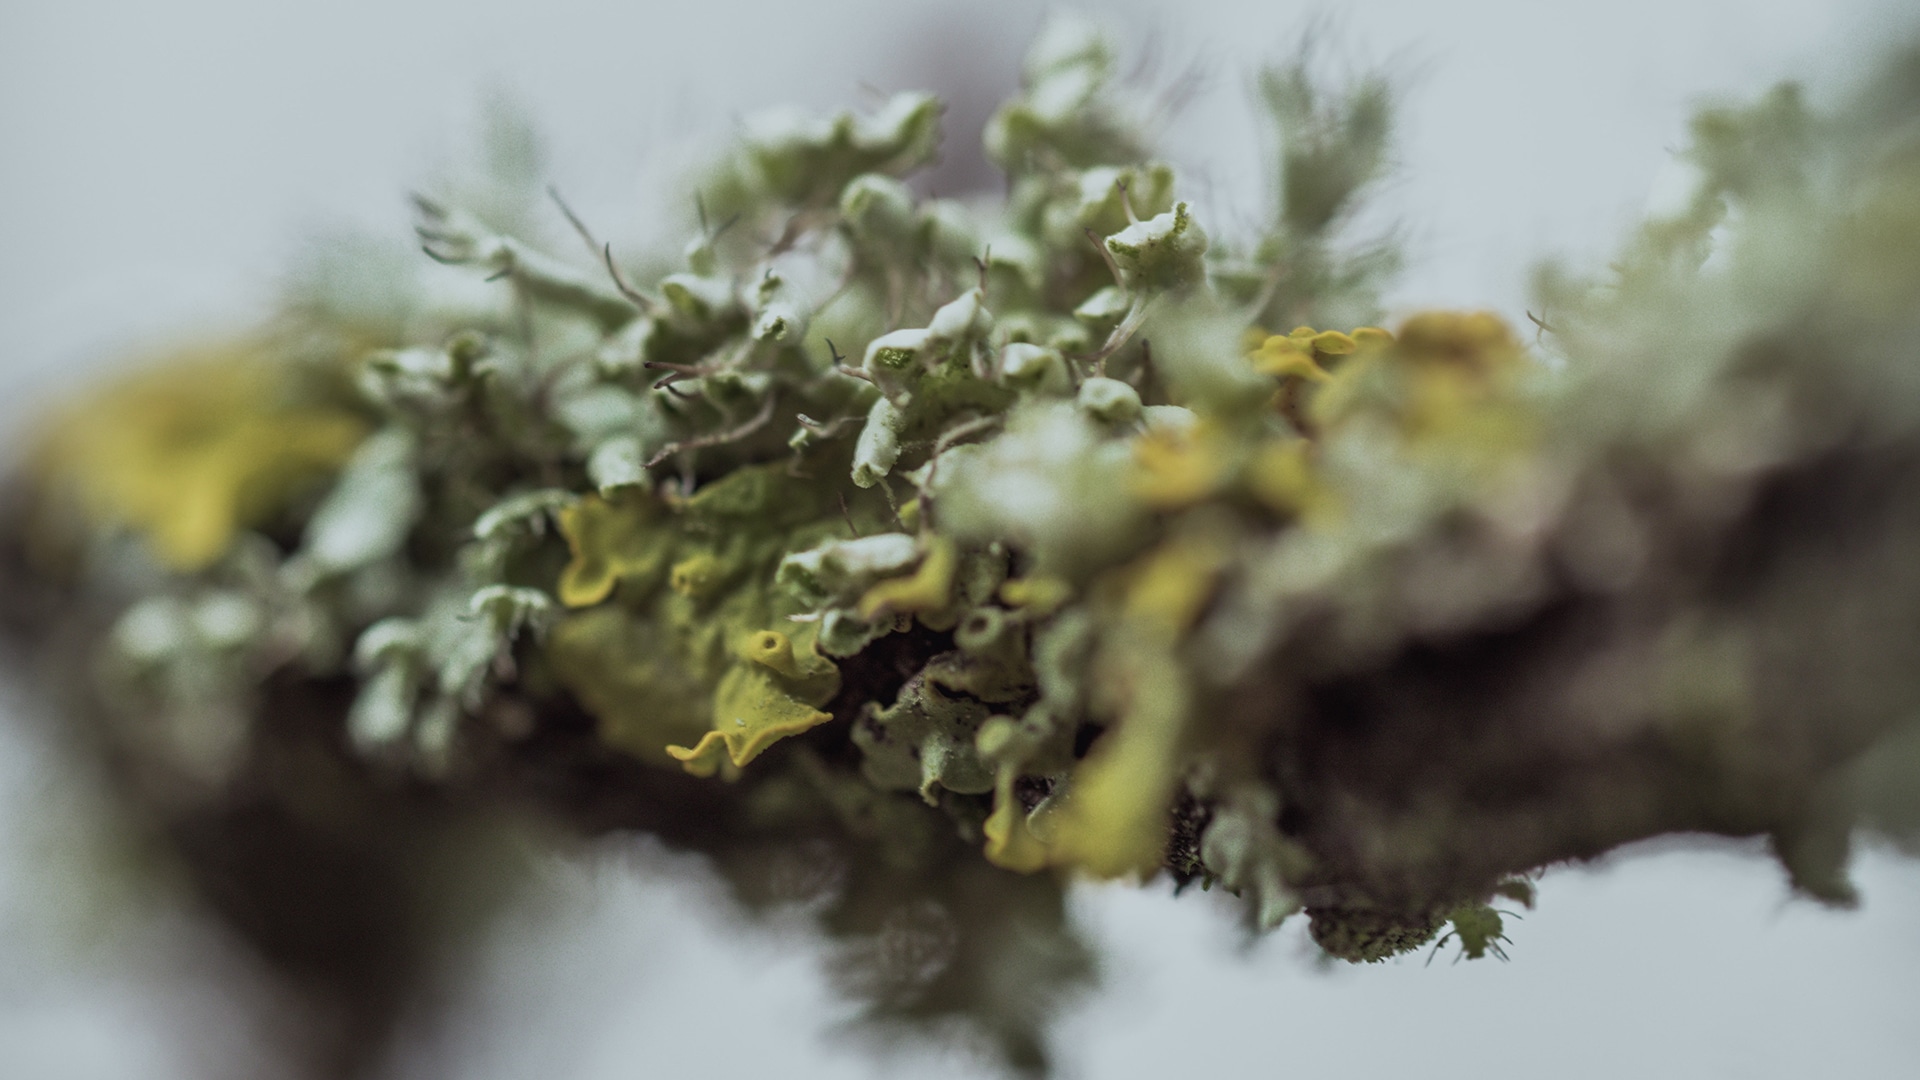
Example of macro photos, focused on the details of a tree branch

Photo by Tom Morel on Unsplash

By Céline Nebor

Don’t miss the latest photographic news, subscribe to Blind newsletter.