Blind Magazine : photography at first sight
Photography at first sight
Search
Close this search box.
Photographing cherry blossoms

Photographing cherry blossoms

Cherry trees are special and beloved for the beautiful pink flowers they sprout when they’re in bloom. So much so that it is a much anticipated national event in Japan by both locals and tourists. It’s a very short time period, however, usually beginning in late March and ending in early April (one to two weeks in all). In just a few days, the flowers fully bloom and then fall to the ground to make way for a new cycle. Here are a few tips to help get you ready for cherry blossom photography and capture this incredible and fleeting phenomenon that heralds the arrival of spring.
Example of cherry blossom photography
© Roman Kraft / Unsplash

Cherry blossom photography: Use the blue sky

There’s nothing like a beautiful blue sky to bring out the pale pink blossoms of the cherry trees. During cherry blossom photography, if you use a low angle shot, facing the sky, you will be able to bring out the colors of the flowers as well as reveal more details. However, avoid facing the sun directly to limit flare and parasitic reflections, which will have the opposite effect on your final result.

Example of picture you can get during a cherry blossom photoshoot
© Jessica Alberto / Unsplash 

Focus on the blossoms

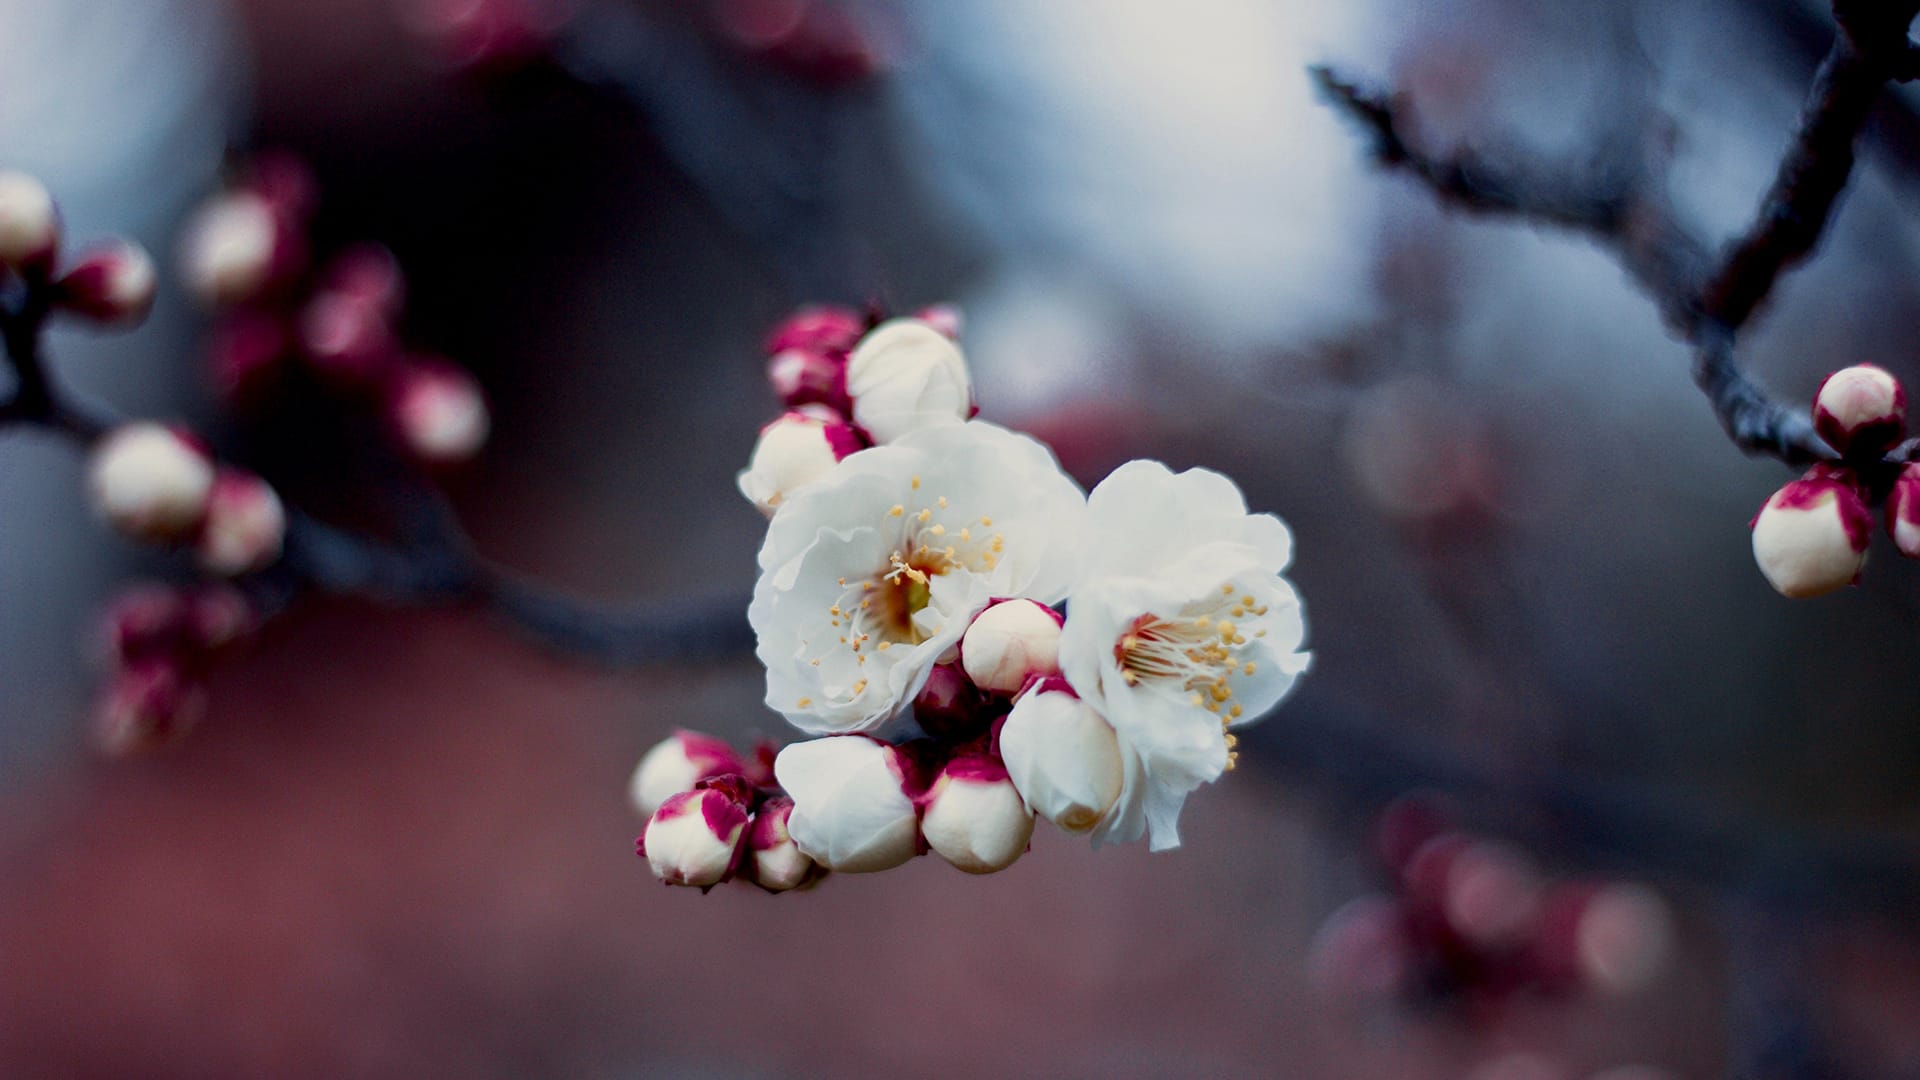
Cherry blossoms are truly unique. They are ephemeral, they offer a color palette ranging from pink to white, and they give off an incredible feeling of lightness and softness that is visually very poetic. So don’t hesitate to focus on the blossoms for more detailed shots. 

By using a very large aperture during your cherry blossom photoshoot (such as f / 1/4; f / 1.8, f / 2.8), you reduce the depth of field and you can achieve a very nice background blur and bokeh effect (a soft, out of focus background), thanks in particular to the other flowers in the background), while bringing out a particular element. To boost your image even more, shift your focus, as in the image below. 

Another example of picture you can get during your cherry blossoms photoshoot
© Jelleke Vanoote / Unsplash 

Don’t overexpose your images

The color of cherry blossoms is sometimes complex, ranging from very pale pink to translucent white, depending on the type of tree. If you’re in broad daylight, or if the sky is particularly bright, be careful not to overexpose your images. 

We even recommend to slightly underexpose them, even if it will mean adding back a little light in post-production. Double-check your settings before you start shooting your series of cherry blossom photography. 

If your blossoms are overexposed, you will lose the subtlety of their colors and detail and it will be difficult to get them back when you retouch them, which is why it’s better to opt for underexposure if you plan to manipulate your images during retouching.

Contextualize

In terms of framing of cherry blossom photography, feel free to experiment with different angles and to make the cherry trees stand out by including external elements such as monuments, people, or animals in the shot. 

This way, during your cherry blossom photoshoot, you can plan on having blurry flowers in the foreground and focus on the background to naturally direct the eye to your additional element, or you can use the trees to frame a subject, for example (see examples below). 

You can also use the flowers as a background for a tight portrait, or, conversely, opt for a very wide shot, if you’re lucky enough to be able to shoot paths lined with cherry trees. The framing possibilities are numerous thanks to the generous options offered by the trees in bloom. 

Cherry blossoms photography can give beautiful pictures and colors
© Atul Rybin / Unsplash 
Cherry blossoms in Japan are a perfect time to take great pictures
© Fergus So / Unsplash
Example of various cherry blossoms in Japan
© Yu Katot / Unsplash 

Correct your colorimetry

While automatic white balance usually works very well outdoors, lighting that is somewhat complex can provide unexpected color results. You can easily correct this with editing software via the automatic white balance tool, the eyedropper tool or even by changing your color layers one by one. For a more intricate adjustment, you can opt for a selective correction of the pink and magenta tones, and the white. 

You can also make your picture warmer or cooler by simply varying the color temperature of your image for different renderings, based on your personal preferences. For the more creative among you, you can also manage your own colorimetry for an even more personal look in your cherry blossom photography. 

Example of a photo of cherry blossoms
An image with cool tones © Jelleke Vanoote / Unsplash 
Cherry blossoms photos are filled with nice colours
An image with warm tones © Ruby Doan / Unsplash 

In conclusion

If you love flowers and photography, the cherry blossom season is perfect for you. Now is a great time to get into cherry blossom photography and to take leisurely shots while admiring the beauty of nature. 

Remember to vary your compositions in order to really make the blossoms stand out, to use the depth of field, and to not overexpose your images, opting instead to underexpose them, if you have retouching software, and to correct the colorimetry if necessary. 

Now all you need to do is to prepare your next cherry blossom photoshoot, stand at the ready and keep an eye out for the long-awaited flowering!

By Céline Nébor

Don’t miss the latest photographic news, subscribe to Blind newsletter.