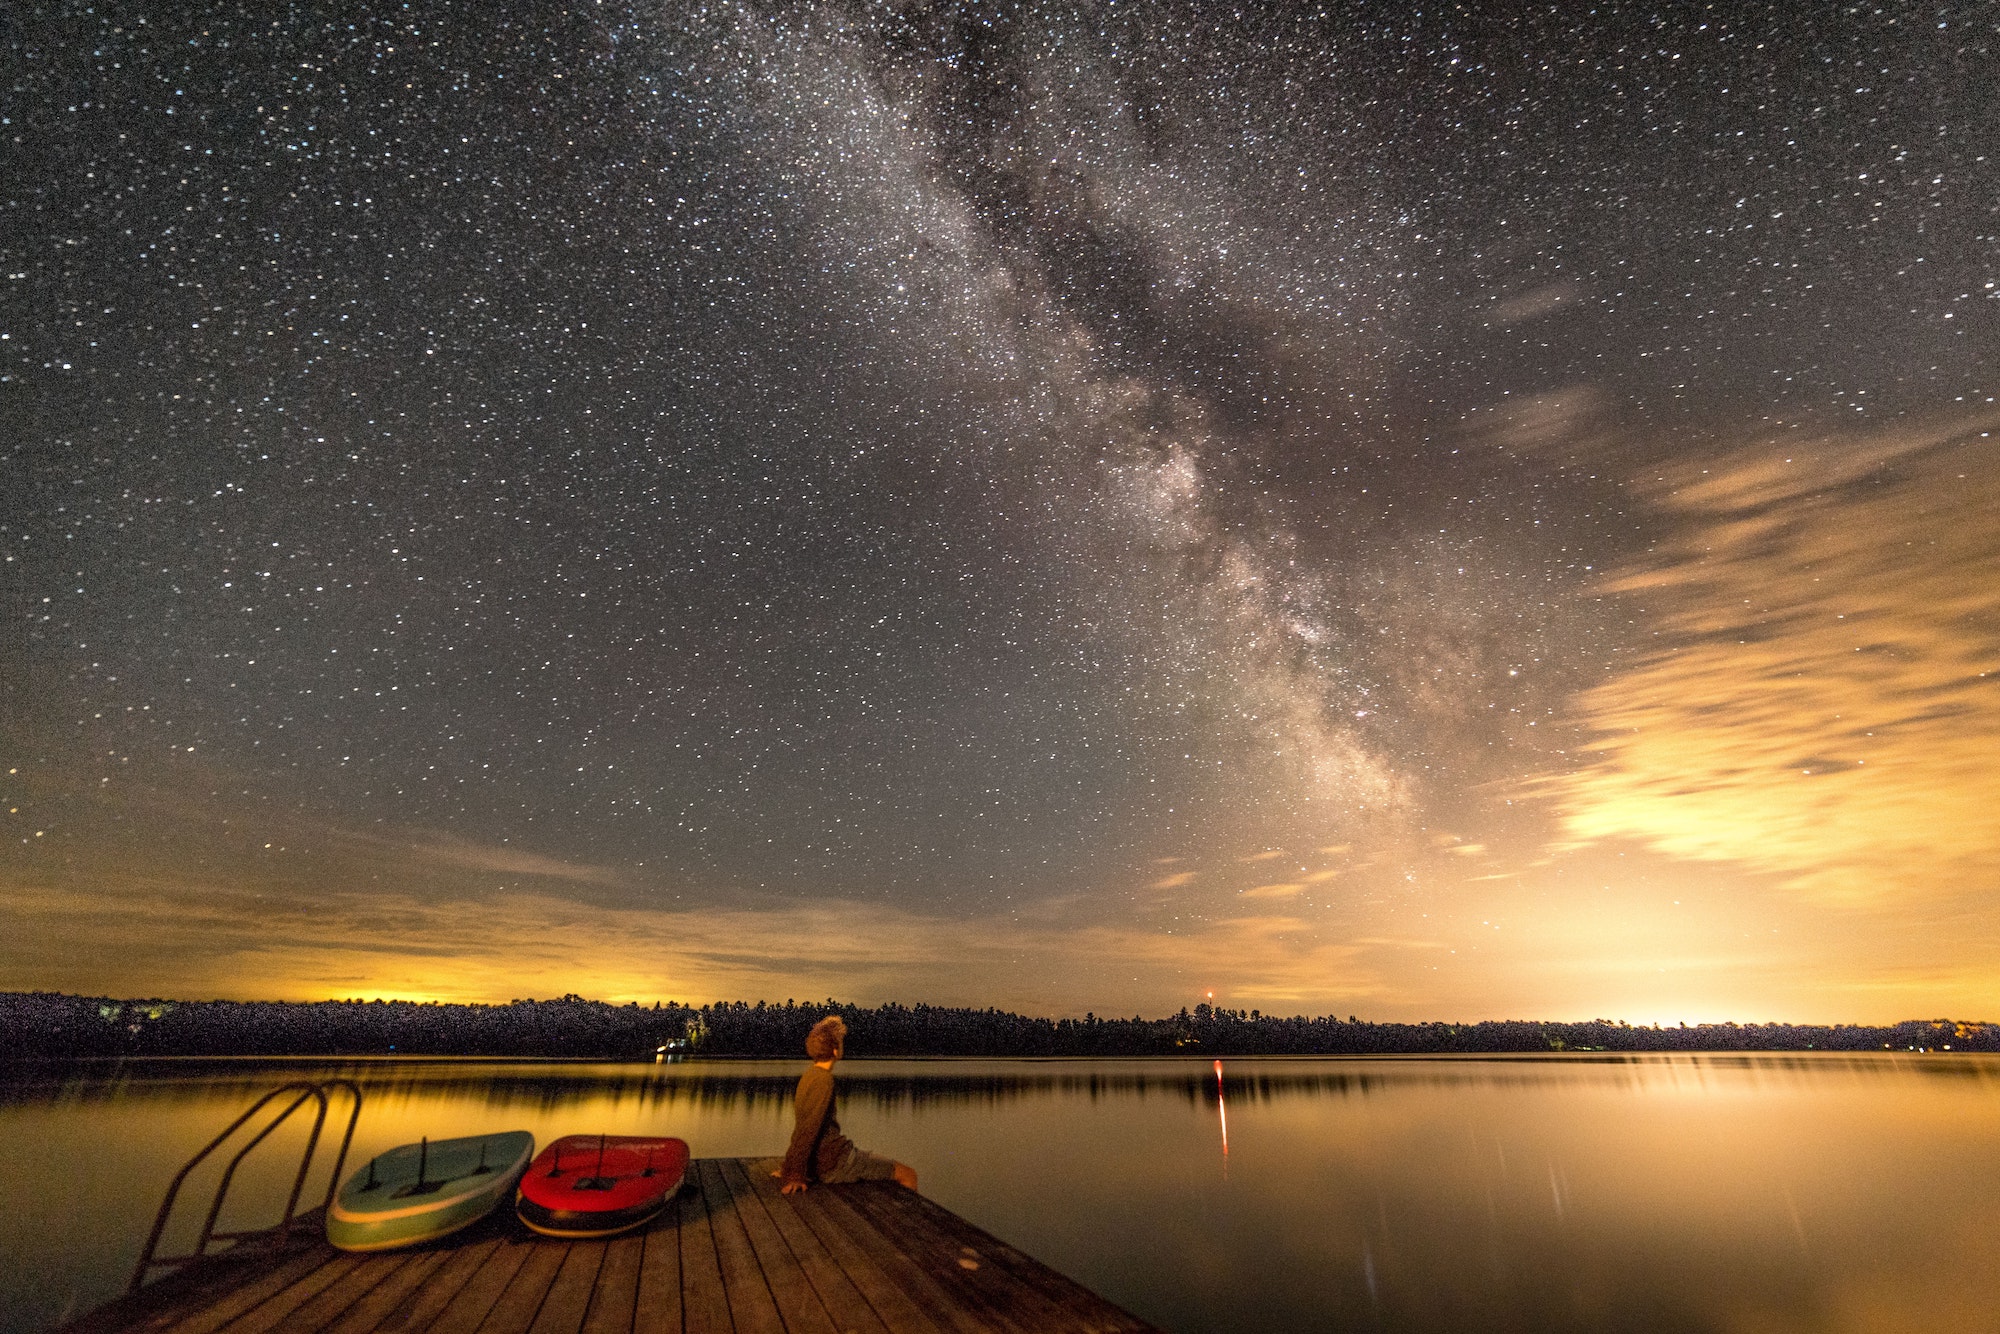
Photographing the Milky Way no longer represents a technical challenge to be met only by professionals. Thanks to technological advances in cameras and lenses, taking a beautiful photo of the night sky is within anyone’s reach.
There are just a few important rules to follow to get great pictures of our galaxy: pick the right season when the Milky Way is best visible, get the necessary equipment, and find the best settings: exposure time, focus, etc. Being prepared is key to setting up your shot.
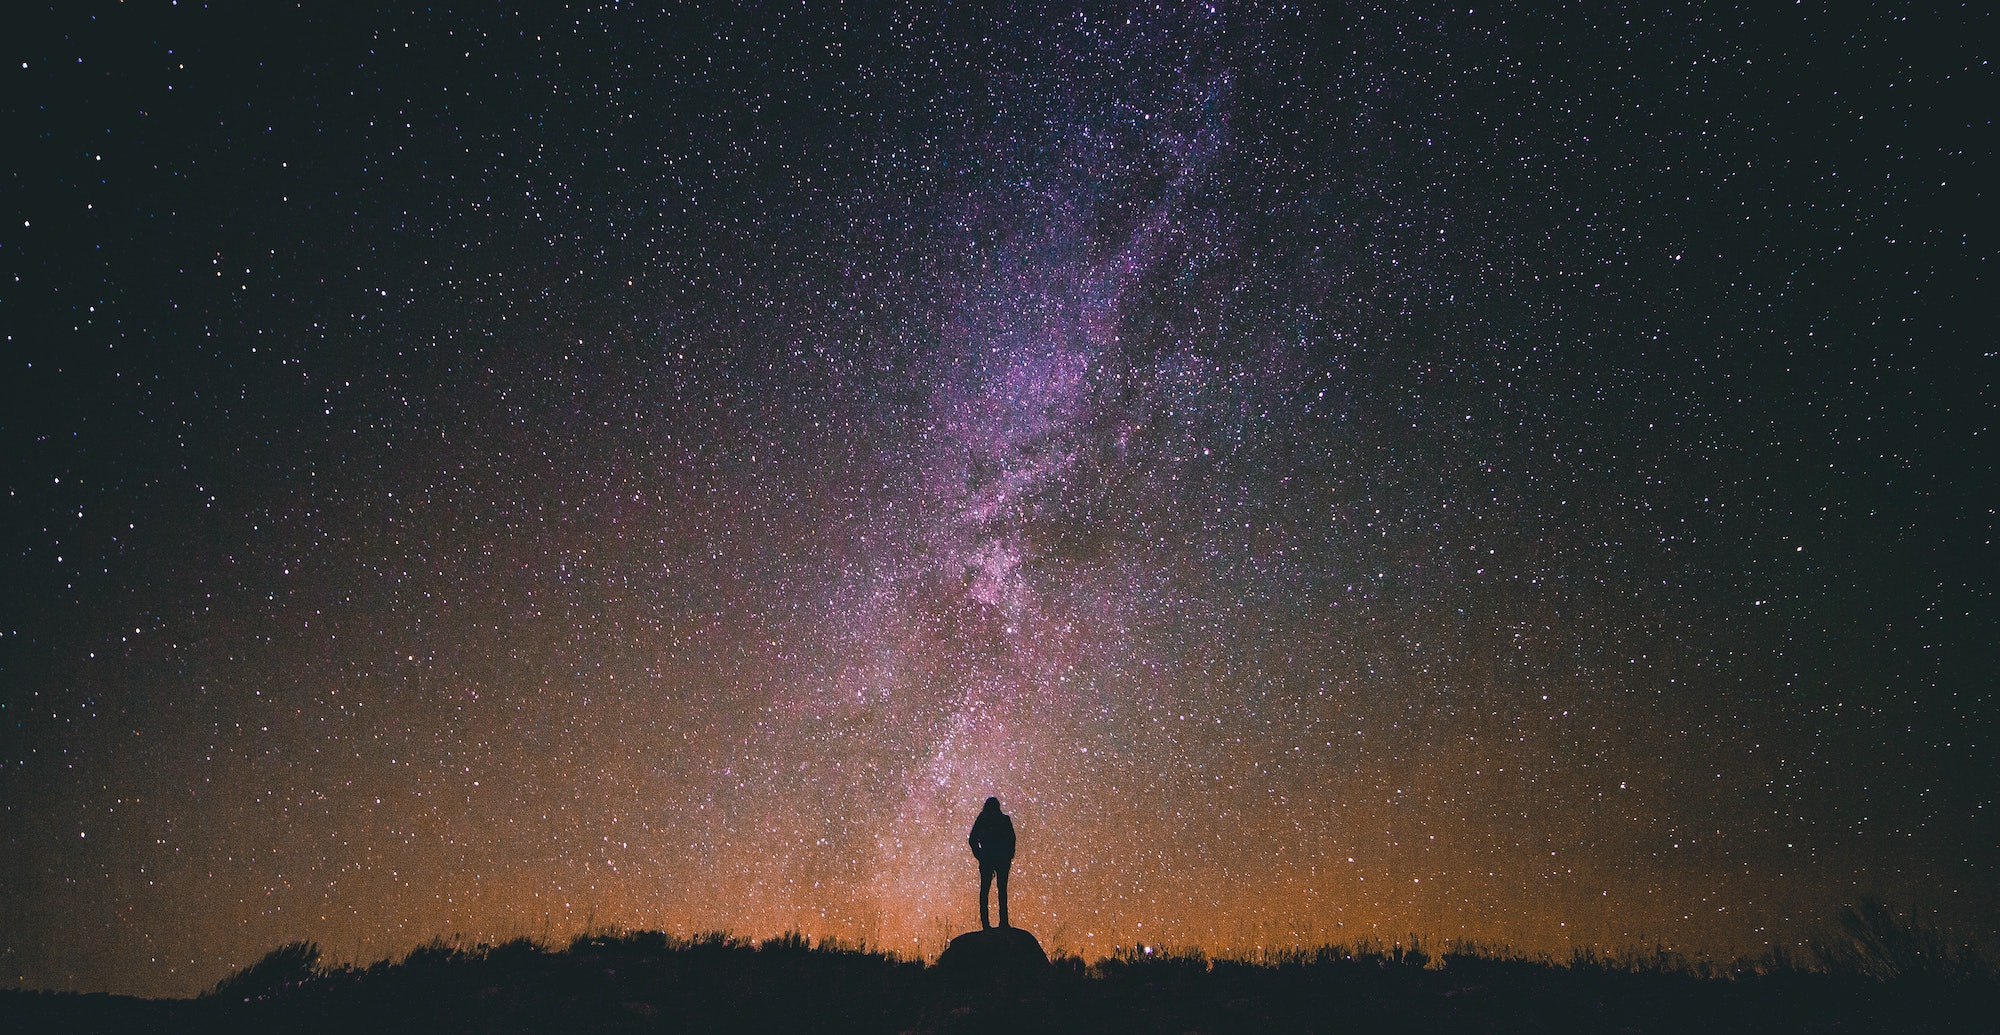
What does it mean to photograph the Milky Way?
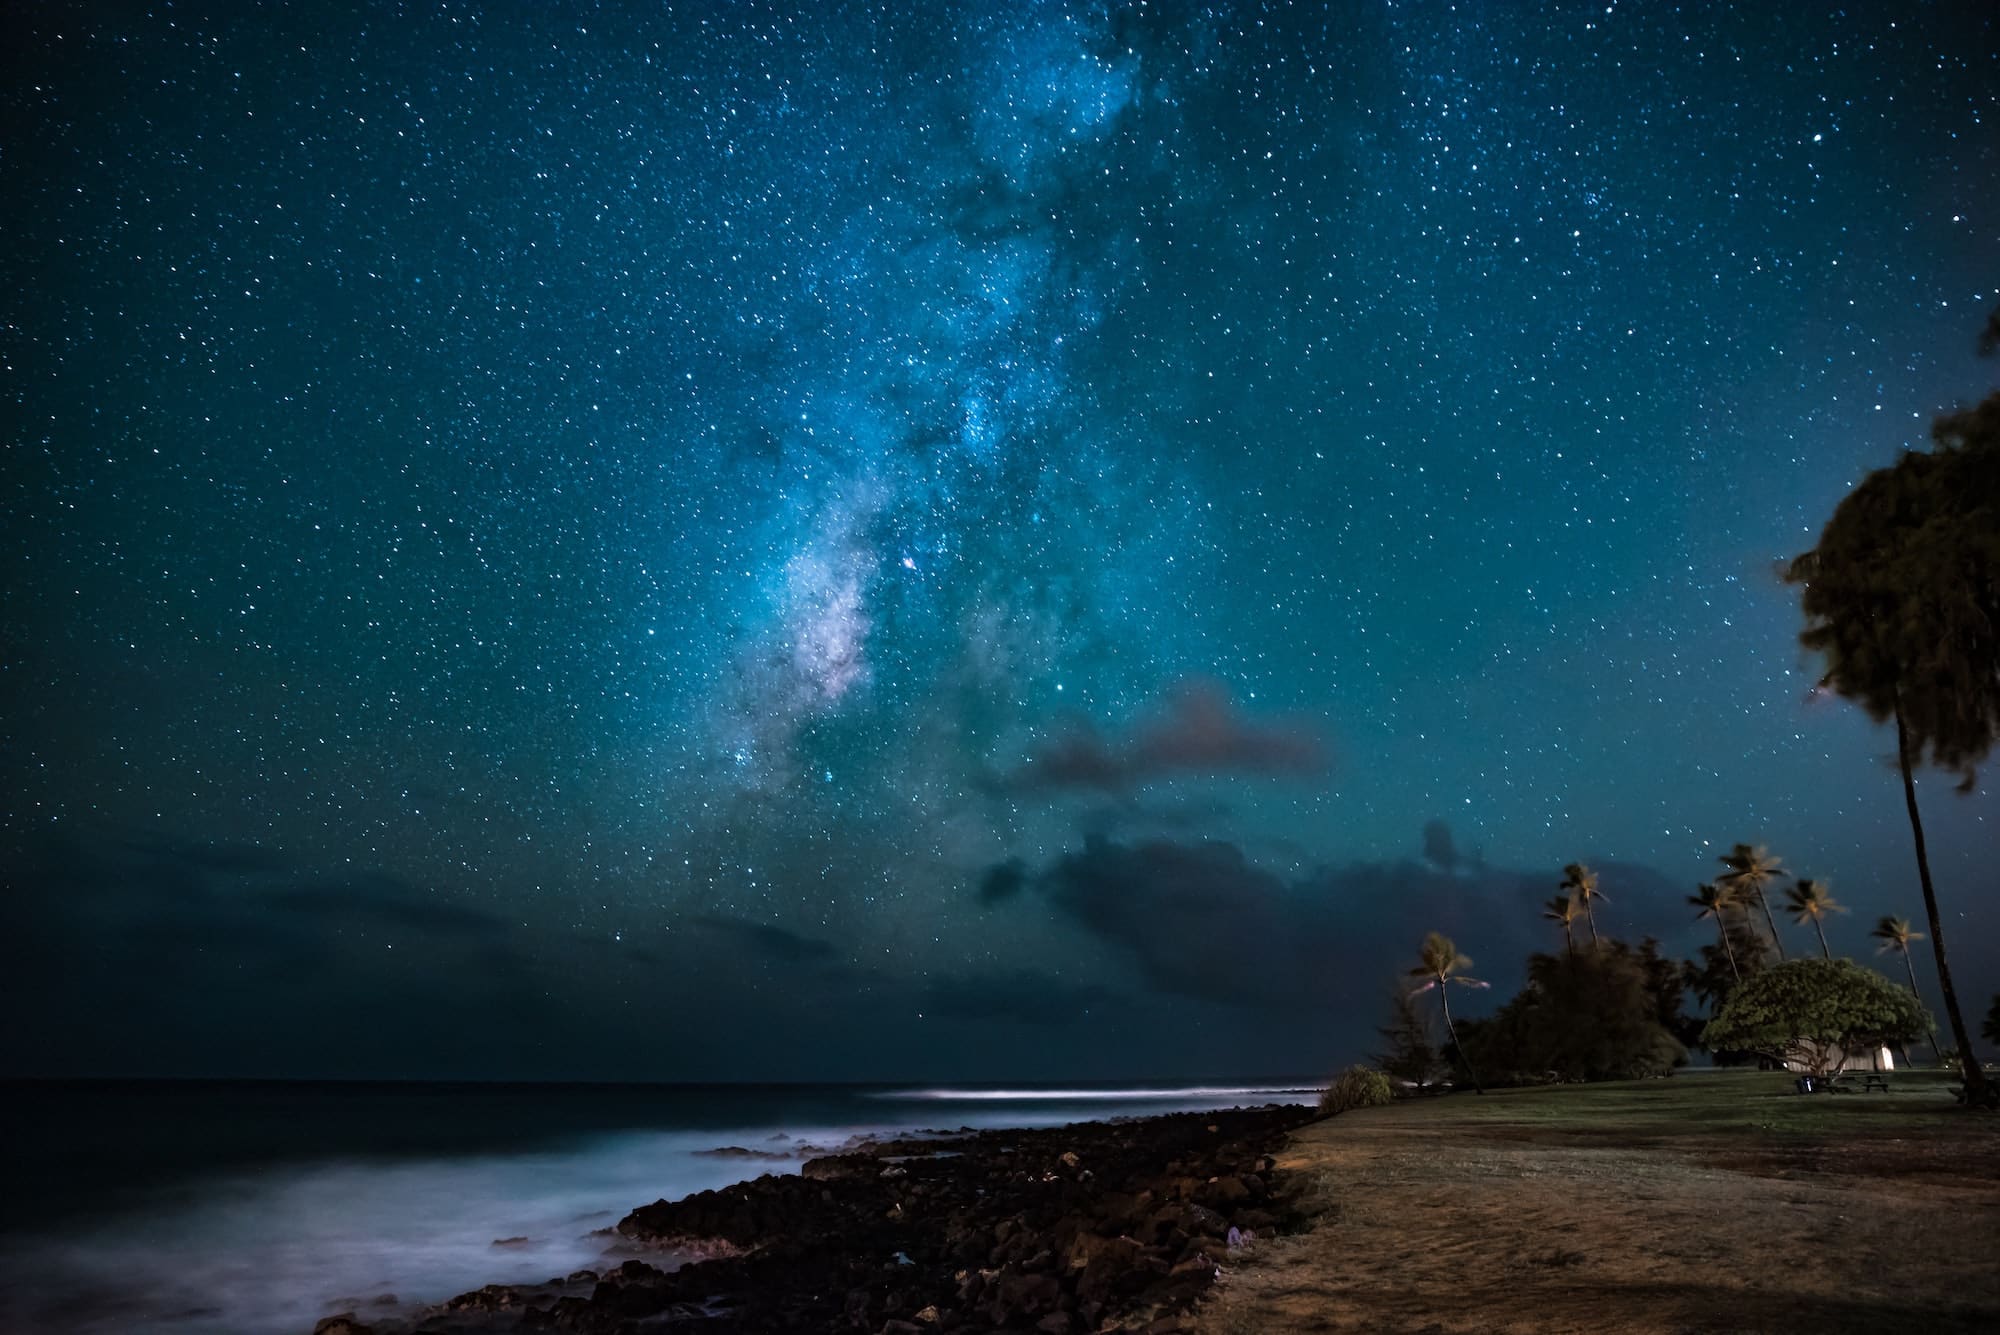
Even before you start planning your Milky Way shooting trip or figuring out the right settings, it is important to define what we mean by photographing our galaxy. When we talk about photographing the Milky Way, we are actually talking about its core, the galactic center, its brightest part. It is this region that is the most densely populated with stars, clusters, and colorful nebulas.
When best to photograph the Milky Way?
In the Northern Hemisphere, the best time to photograph the Milky Way is from April to September. In the Southern Hemisphere, this period is from February to October. The summer months (June, July, August) offer the best conditions for taking pictures of the Milky Way.
Although our galaxy can be observed all year round, to get the most detail, you should plan your Milky Way photo trip during those high-visibility months.
On the day of shooting, the best time to start your photo shoot is usually between midnight and 5 a.m., when the Milky Way will be positioned the highest above the horizon. However, always remember to locate its position in advance, since depending on the time of year, it may only be visible for a few minutes, and sometimes not at all.
Where to photograph the Milky Way?
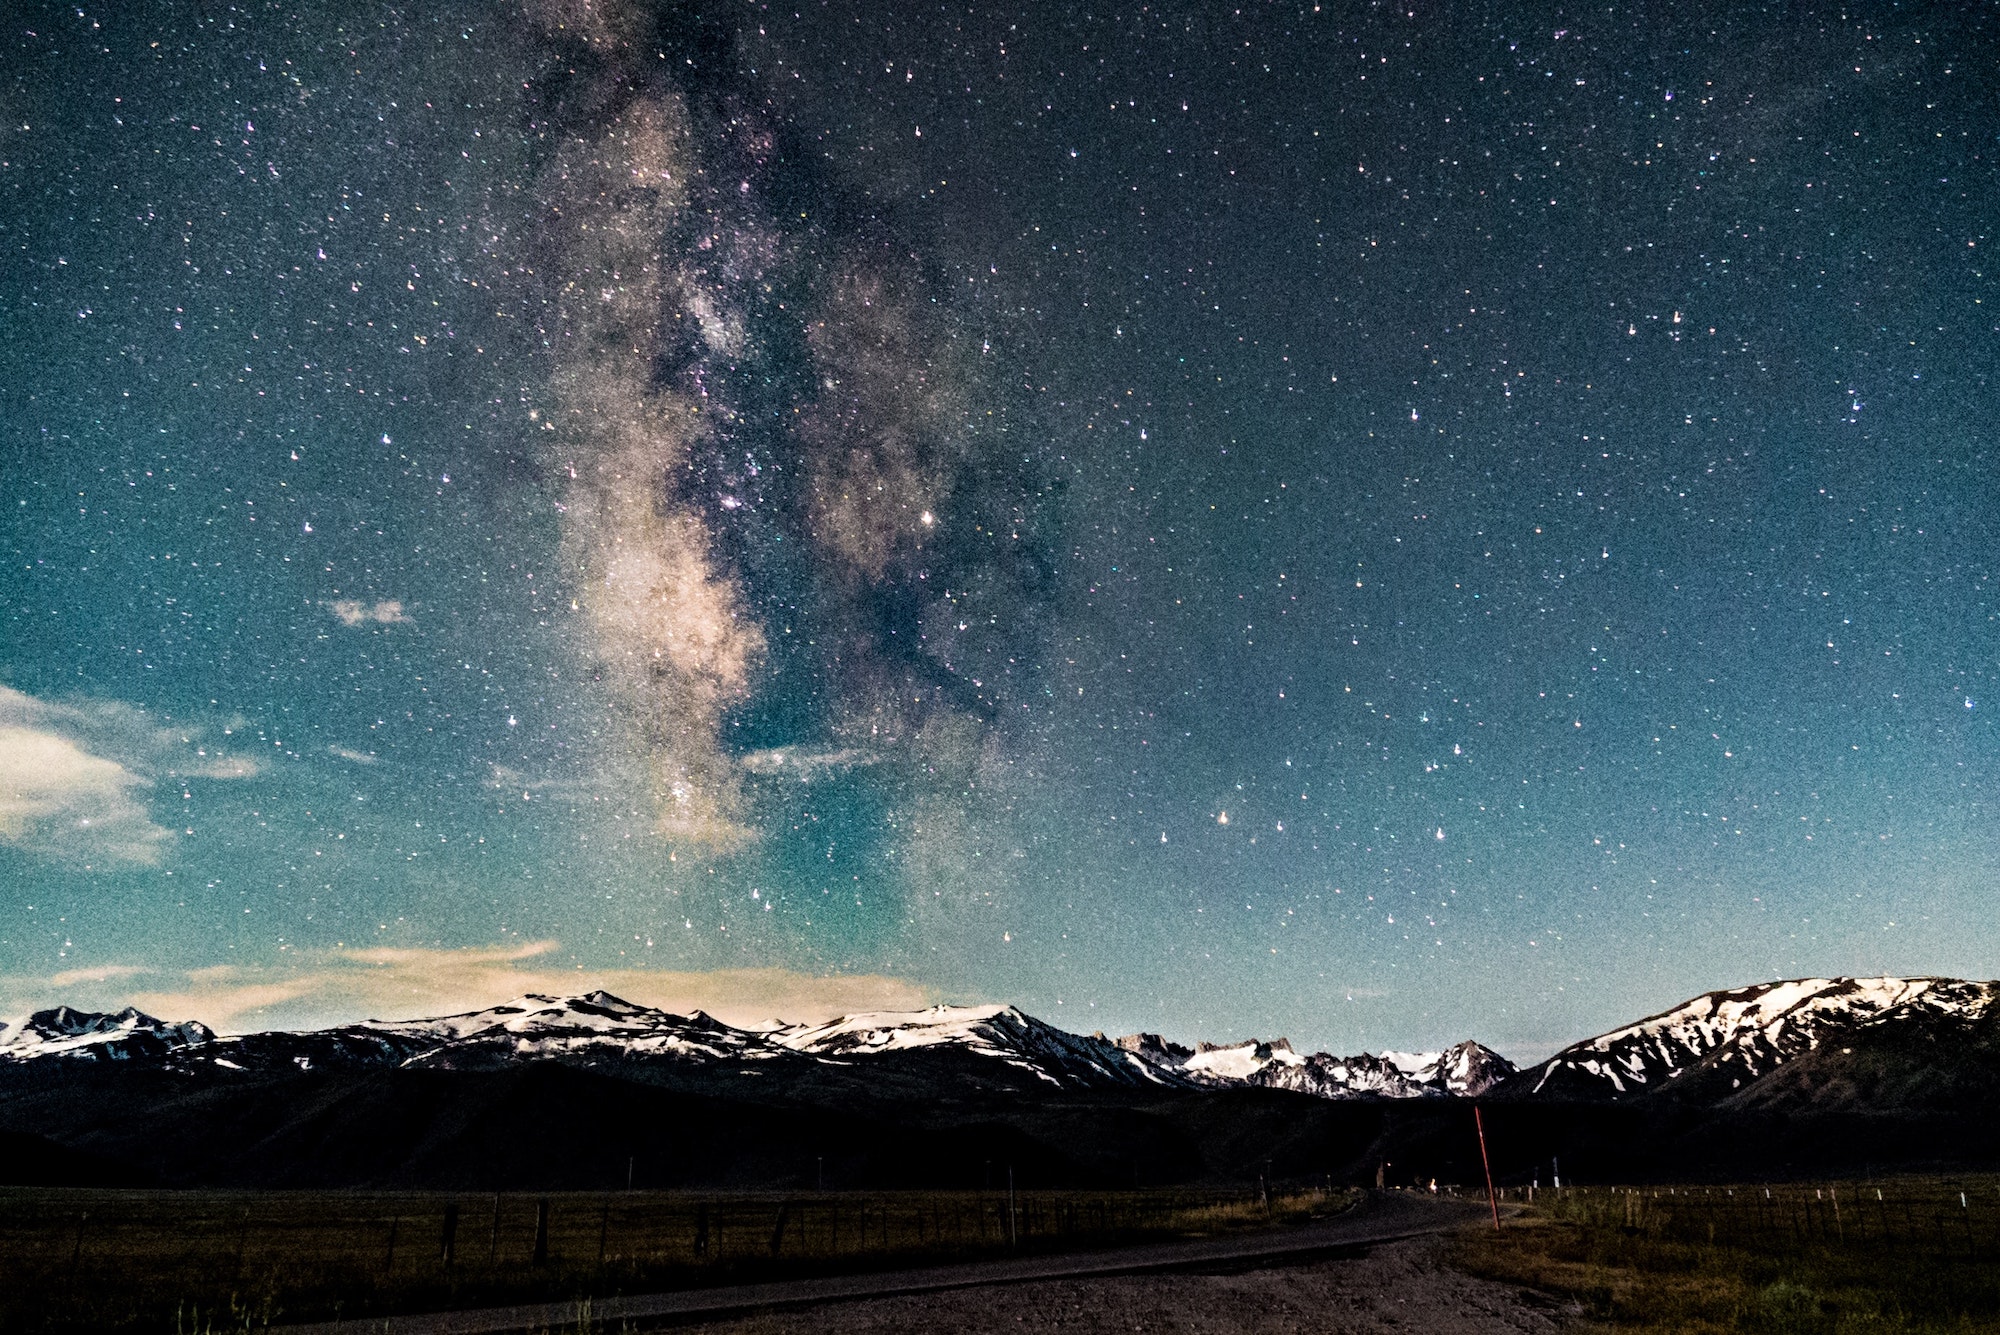
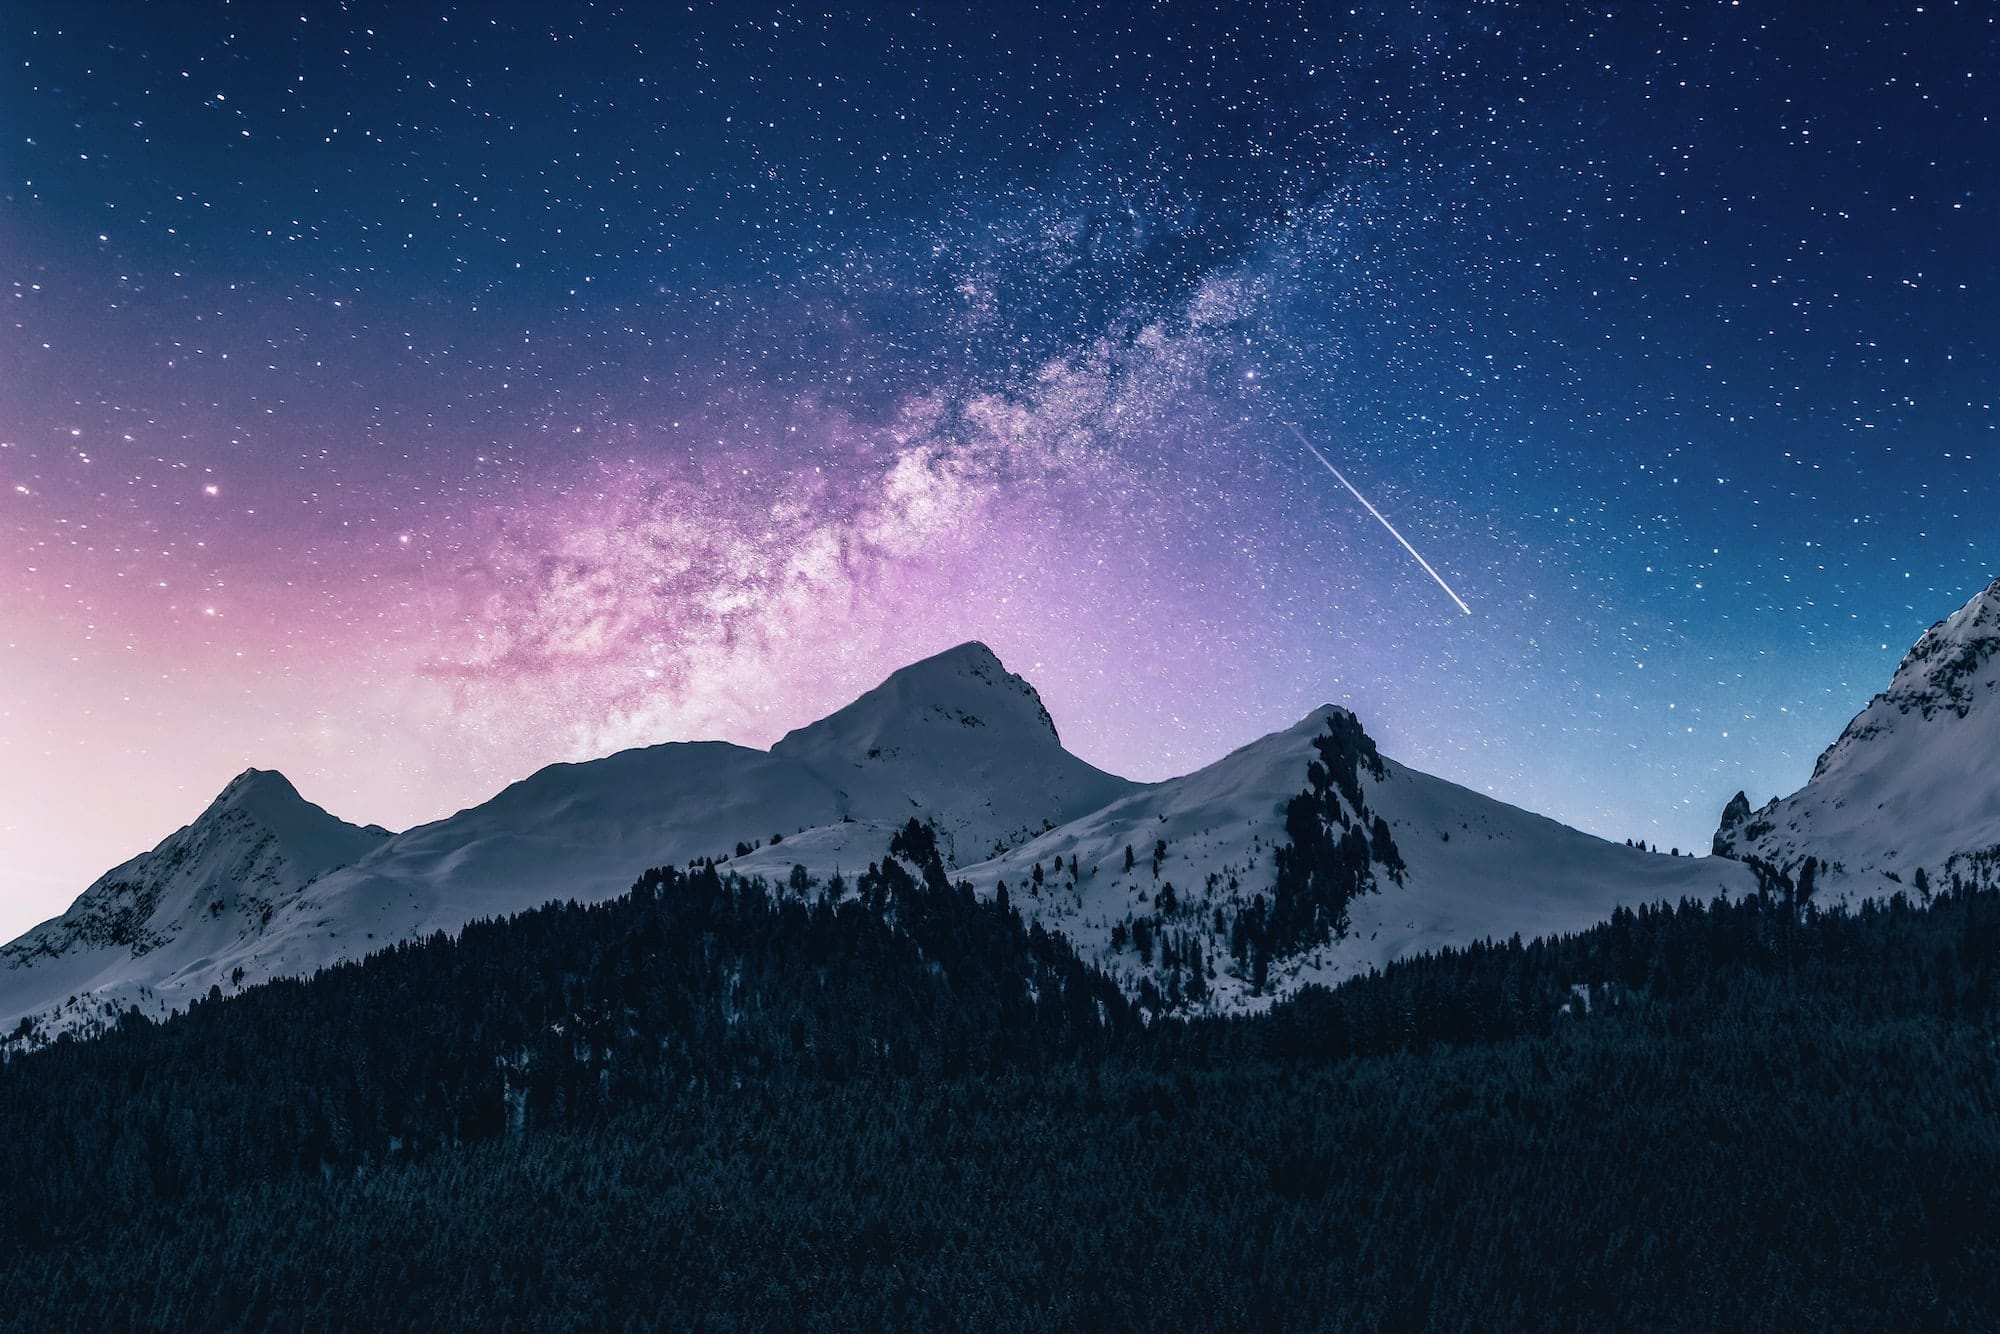
In France, the best places to take pictures of the Milky Way are at higher elevations, especially in the mountains, such as in the Clarée River Valley or the Massif des Écrins, in the Alpes. However, places like the south of Brittany or sparsely populated rural areas also offer favorable conditions for photographing the Milky Way.
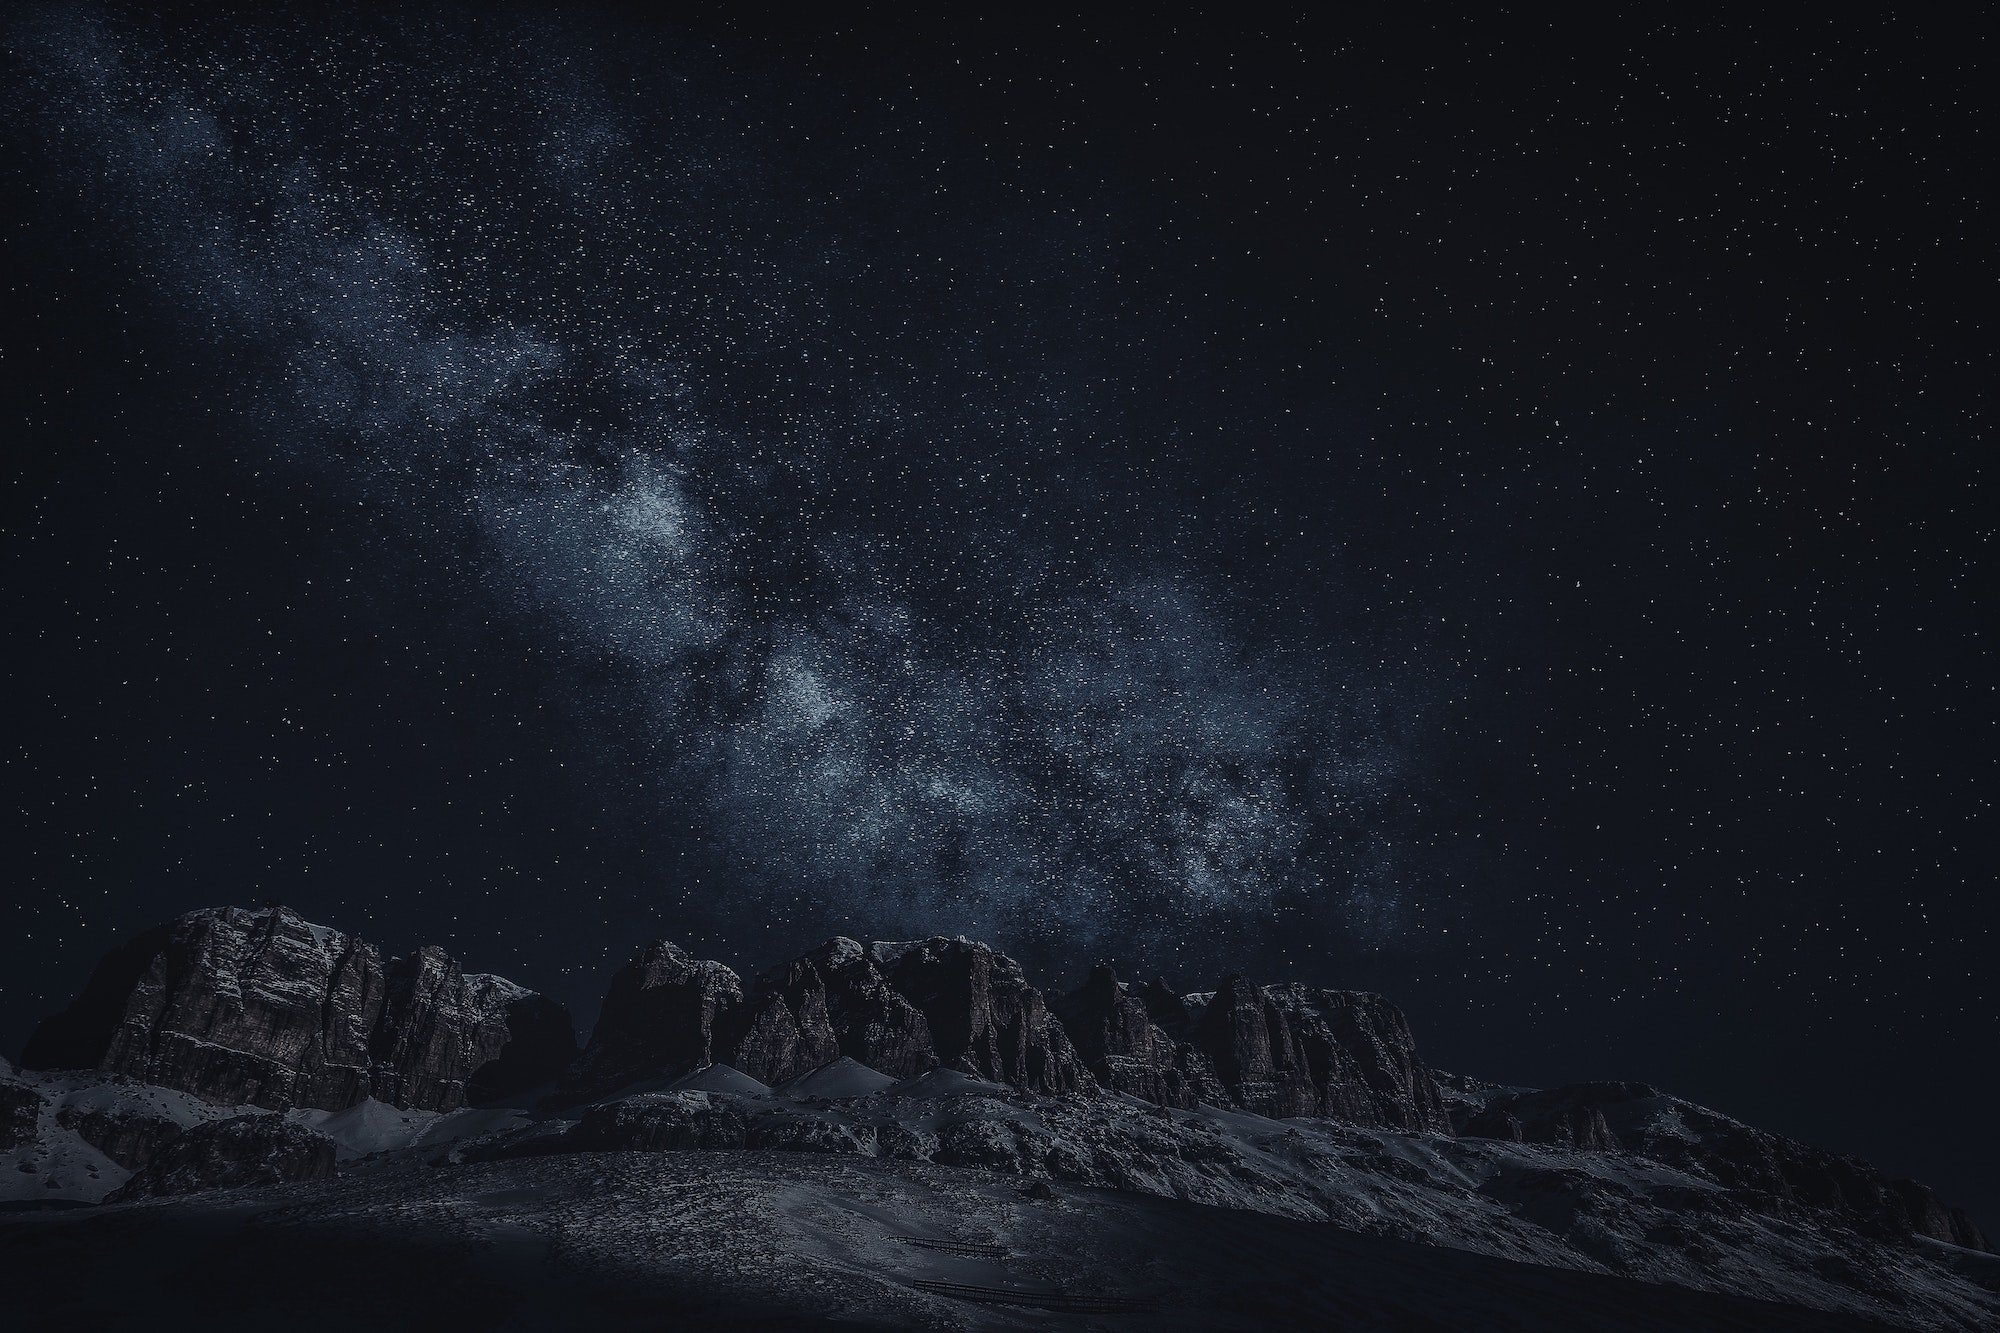
Worldwide, there are plenty of choice photo locations, very popular among astrophotographers, such as the Dolomites in Italy, the Banff National Park in Alberta, Canada, and the Atacama Desert in Chile.
What are the best conditions to take pictures of the Milky Way?
The ideal conditions to take a picture of the Milky Way are clear atmospheric conditions. This means a cloudless sky and absence of wind, humidity, and light pollution (streetlights, searchlights, etc.).
While the location of your Milky Way photo shoot is important, the absence of light pollution in the area is crucial. To get a great photo, you must avoid at all costs cities and sites with intense lighting. When shooting near a light source, take into account its direction. Try to pick open spaces away from populated areas.
You need also to pay attention to the Moon. Moonlight might overwhelm the Milky Way and make its details less visible. You should therefore schedule your photo outing on a dark night, during New Moon or First or Last Quarter.
While a clear sky is ideal for your Milky Way photos, the presence of the Moon, wind, partial cloud cover, or some light pollution might give you a chance to generate interesting effects and create an original photo.
What equipment to use?
Although taking a photo of the Milky Way has become easier than it used to be, there are still a few pieces of equipment essential to your success*.
The camera
You don’t need a professional camera to photograph the Milky Way: nowadays, most SLR cameras can capture great images, as can a number of smartphones.
Whatever camera you decide to work with, you should make sure that it has a manual mode, which will be key to setting up your camera and capturing the Milky Way. The manual mode will allow you to adjust ISO sensitivity and exposure time.
Lenses
We recommend that you use the brightest lens possible; in other words, a lens with a large aperture which will capture maximum light. At the same time, use a wide-angle lens (focal length less than 50 mm) to capture the entire Milky Way visible and the surrounding landscape.
Most conventional lenses, however, can still take good pictures, whether it is a wide-angle lens or a standard kit, such as an 18–55 mm or even an 18–135 mm lens. The difference in rendering will be in the angle of the field: whether it is a general view, a panorama, an image of the very core, a focus on the detail, etc.
You can switch between different lenses to vary the rendering of the Milky Way. Make only sure to adjust the other settings on your camera along with the lens.
Whatever your choice of lenses, be careful not to choose a lens with a focal length that is too large (greater than 135 mm), because, due to the Earth’s rotation, the stars can quickly grow oval and out of focus, which might spoil your Milky Way photo.
Accesories
For best results, we recommend you bring a long a few accessories:
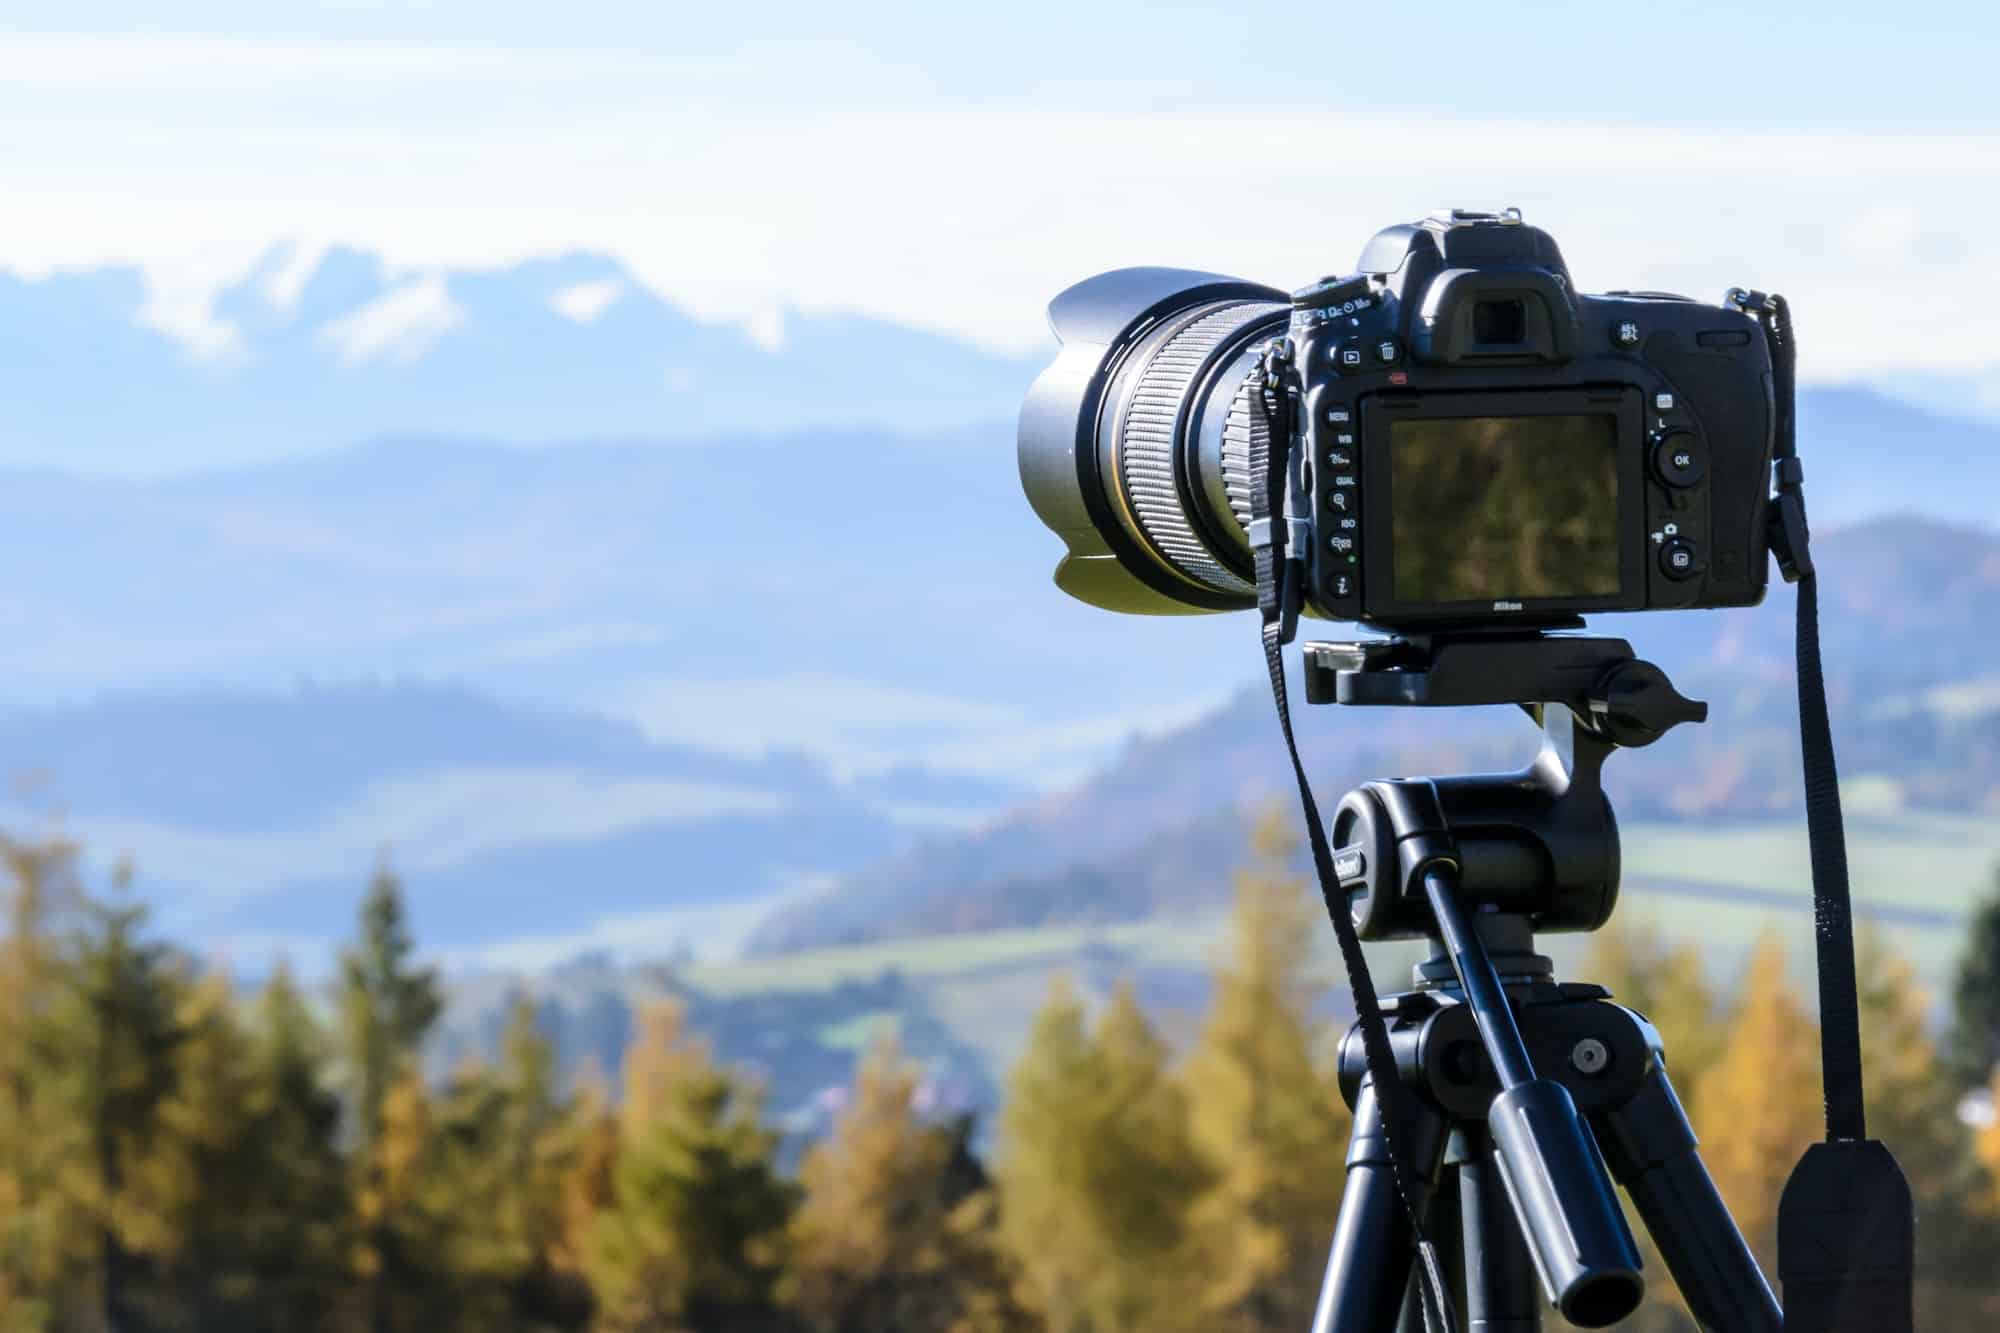
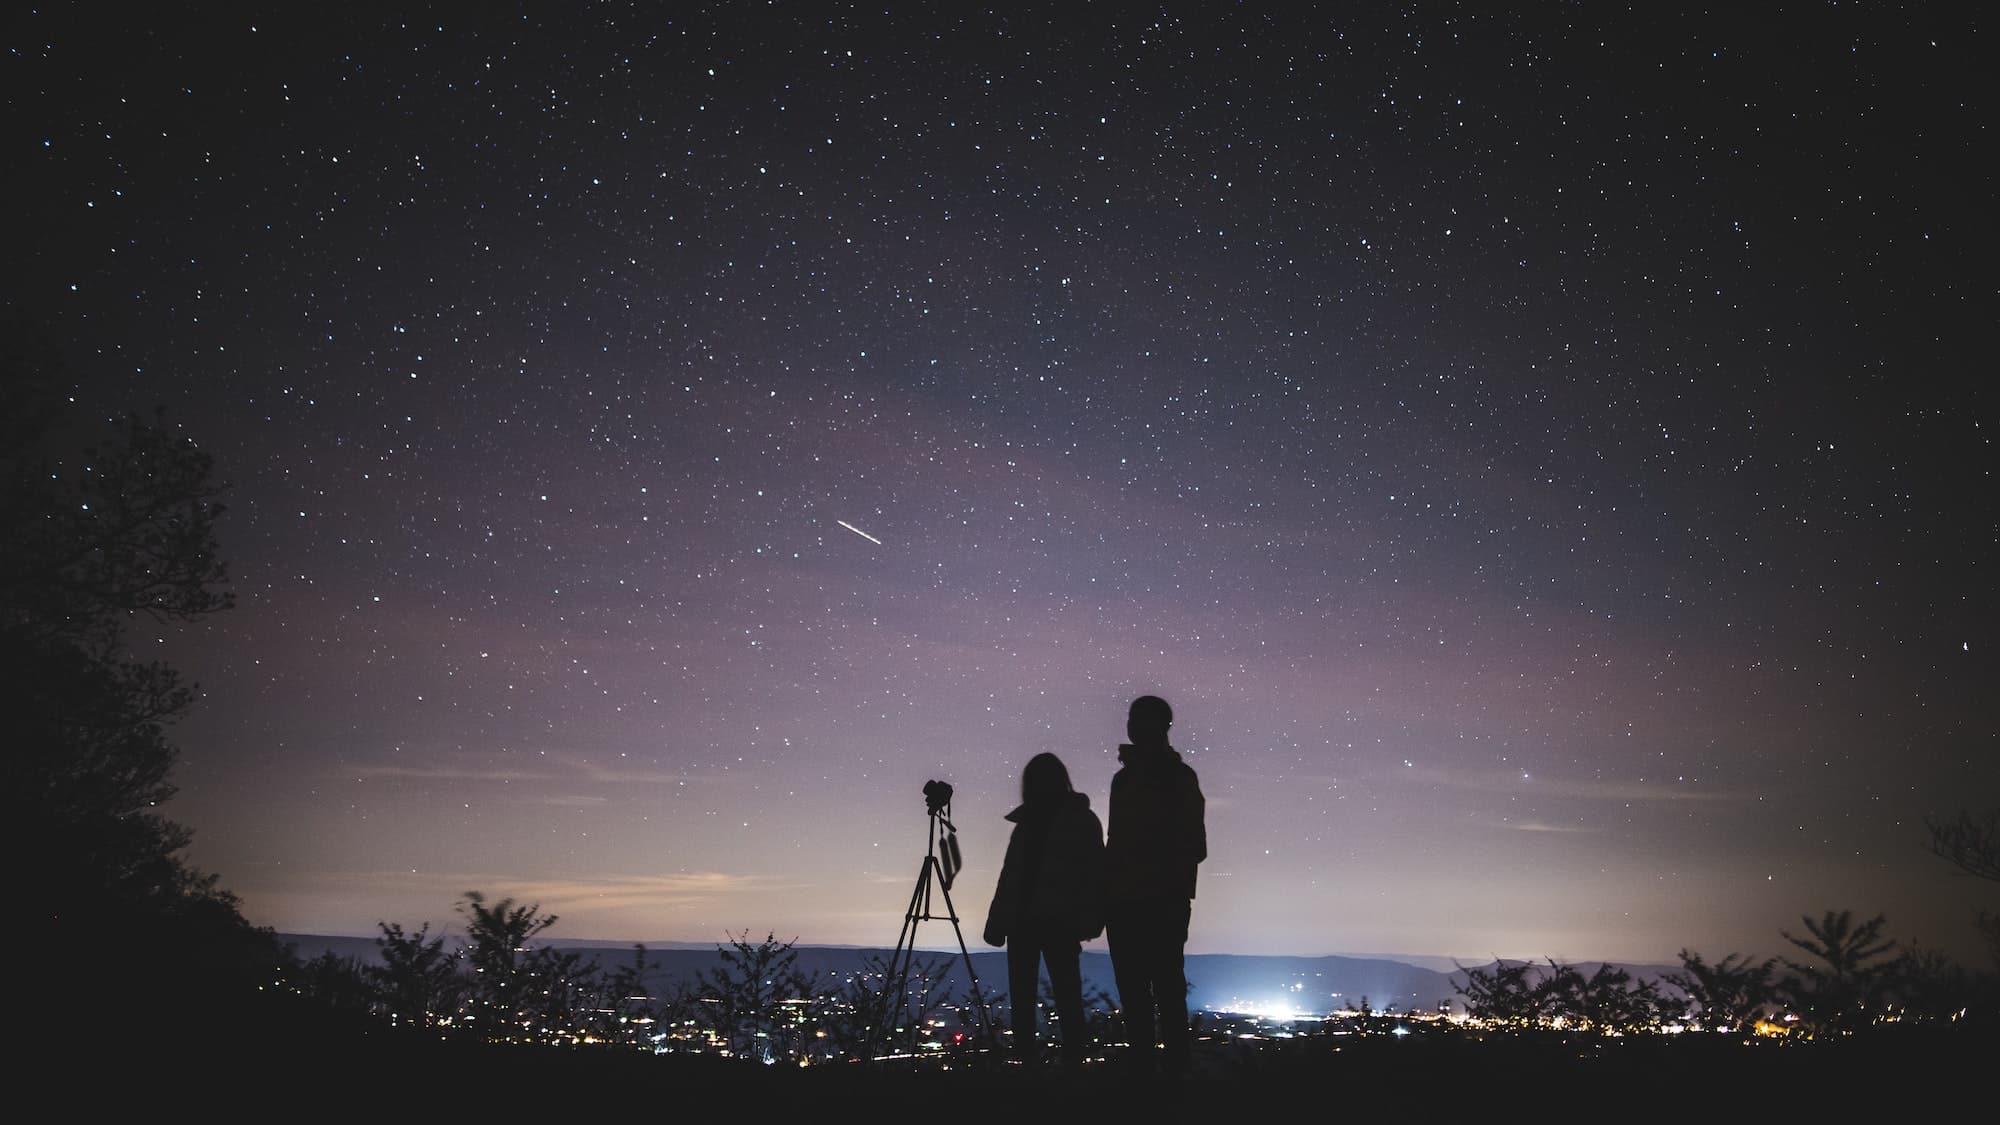
• A tripod: an essential accessory for capturing the Milky Way, and landscapes in general. To ensure a clear picture and get all the details, the camera must be perfectly steady. Stability also allows your camera to get the maximum amount of light.
• If you want to get a panoramic or a time-lapse shot, bring a panoramic rotator or an intervalometer.
• A wireless remote control will allow you to set up and trigger your camera or smartphone from a distance.
• A headlamp with red light will help you to find your way around at night, adjust your camera settings, illuminate foreground elements, and focus.
• Bring spare batteries and memory cards, and store them in a dry place.
• Bring warm clothes to stay warm at night, even in summer, especially if you’re photographing in the mountains.
Milky Way photo settings
There are many settings to adjust before you can take your first Milky Way photo: aperture, ISO, shutter speed, etc. Before you launch into any setting, first take the time to familiarize yourself with them and do some testing to see what works best in terms of your equipment and your project.
The manual mode
The first thing you to do is to switch your camera from automatic to manual mode. Once in manual mode, you can go ahead and set all the other settings.
The RAW format
RAW is an uncompressed image format that preserves all the details of the scene and will facilitate processing your Milky Way photos later. By contrast, a photo in the basic JPEG format loses detail and limits post-production.
If you want to have a choice between the two formats, either for processing or printing, you can save your images in RAW + JPEG format.
Aperture
The aperture controls the amount of light that enters the lens of your camera. Aperture is expressed as the value of ƒ/N, where “ƒ” represents the focal length and “N” the width of the aperture.
Since the Milky Way is not very bright, the camera needs to absorb the maximum of light. Thus, your aperture should be as open as possible, which translates into the smallest possible f/N aperture value. The recommended value is usually between ƒ/1.8 and ƒ/3.5 (or even ƒ/4), to allow you to capture most of the stars and other details of the night sky.
ISO sensitivity
ISO sensitivity refers to a setting that, like the aperture, controls the amount of light captured by your camera. Depending on the sensitivity you choose, your photo will be more, or less, bright and detailed. When photographing the Milky Way, you should choose a higher ISO to increase light sensitivity and compensate for the low brightness of the stars.
However, the higher the ISO the more sensitive the sensor is to light, and the quality of the image may degrade with the appearance of “digital noise” (grainy picture). On the other hand, if the ISO is too low, the sky and stars will be underexposed, making the Milky Way pale and poorly visible.
As a general rule, choose a sensitivity between ISO 1600 and 3200, which will allow you to capture just enough light, without losing quality or picking up noise. This is, for example, the ideal setting if you have a 24mm focal length with an aperture of f/1.4.
If you have a smaller aperture, such as f/2.0 or f/2.8, you can gradually increase the sensitivity beyond ISO 3200, watching out for digital noise. Also, if there are any sources of light in the vicinity (street lights, the moon, etc.), consider adjusting your ISO so as not to accentuate these other external light sources and lose sharpness.
Shutter speed and exposure
To let the maximum amount of light into the camera’s sensor and make the Milky Way appear bright in your photo, in addition to the ISO and the aperture, you need to set the exposure time. The longer the exposure, the more light the camera will capture.
An exposure can last between 5 and 30 seconds, depending on your focal length. The higher your focal length, the shorter the exposure time should be.
Although a long exposure is best for capturing the Milky Way, keep in mind that an overly long exposure will result in the appearance of light trails and blurry, oval stars, due to the Earth’s rotation around its axis. For example, with a standard 18 mm lens, this phenomenon can be visible already at a 20-second exposure.
To find the right shutter speed to photograph the Milky Way, use the 500 rule, a formula for calculating the exposure time depending on the focal length: 500 ÷ focal length = exposure time. For ease of calculation, round off the result.
The formula will vary depending on whether you use a full-frame sensor (24×36 mm), or an APS-C Nikon or Canon sensor (respectively 1.5 and 1.6 times smaller than the full-frame sensor). In this case, the calculation will be: 500 ÷ (focal length x 1.5 or 1.6) = exposure time.
For example, for a focal length of 16 mm with a full-frame sensor, the exposure time to take a picture of the Milky Way should be 500 ÷ 16 = 31.25 seconds. With a Nikon APS-C sensor, the exposure time would be 500 ÷ (16 x 1.5) = 24 seconds. With a Canon APS-C sensor, the exposure time would be 500 ÷ (16 x 1.6) = 19.5 seconds.
However, the 500 rule is not perfect. To take the example of 16mm focal length with a full-frame sensor, a 31-second exposure would carry a high risk of star trails and a blurred Milky Way. Depending on your equipment and your project, you can calculate your exposure time by taking a base of 300, 400, or 600.
Whatever you do, to ensure the optimal shutter speed, take a picture of the night sky and see if the stars are points or ovals. In the latter case, shorten the exposure time.
Getting ready for your photo trip
Now that you know how to set up your Milky Way shots, it’s time to get ready for your trip.
Planning around the weather conditions
To best capture the Milky Way, you need to find the dates of ideal visibility and pick a night when the sky will be clear and free of light pollution and moonlight.
There are many tools and apps that will help you find the best dates to photograph the Milky Way, including its position and visibility in the sky, moonrise and moonset times, and weather conditions:
• The position and trajectory of the Milky Way: Photopills (iOS and Android), Stellarium (iOS and Android), Night Sky (iOS), Sky Guide (iOS), Google Sky
• Light pollution: Light Pollution Map; Dark Sky Finder (US and Canada)
• Moon phases: Lunar calendar (enter your precise location)
• Weather: Wunderground, Carrot Weather
• Cloud cover: Windy, Windfinder
Cross-reference multiple data sources to make sure your calculations are right and find the optimal conditions.
Scout out your locations and preset your shots
Now that you have picked your perfect location and found the date for your Milky Way photo shoot, go out and do some scouting ahead of time. Find your ideal placement and work out your angles of view, keeping in mind the position of stars on the day of shooting.
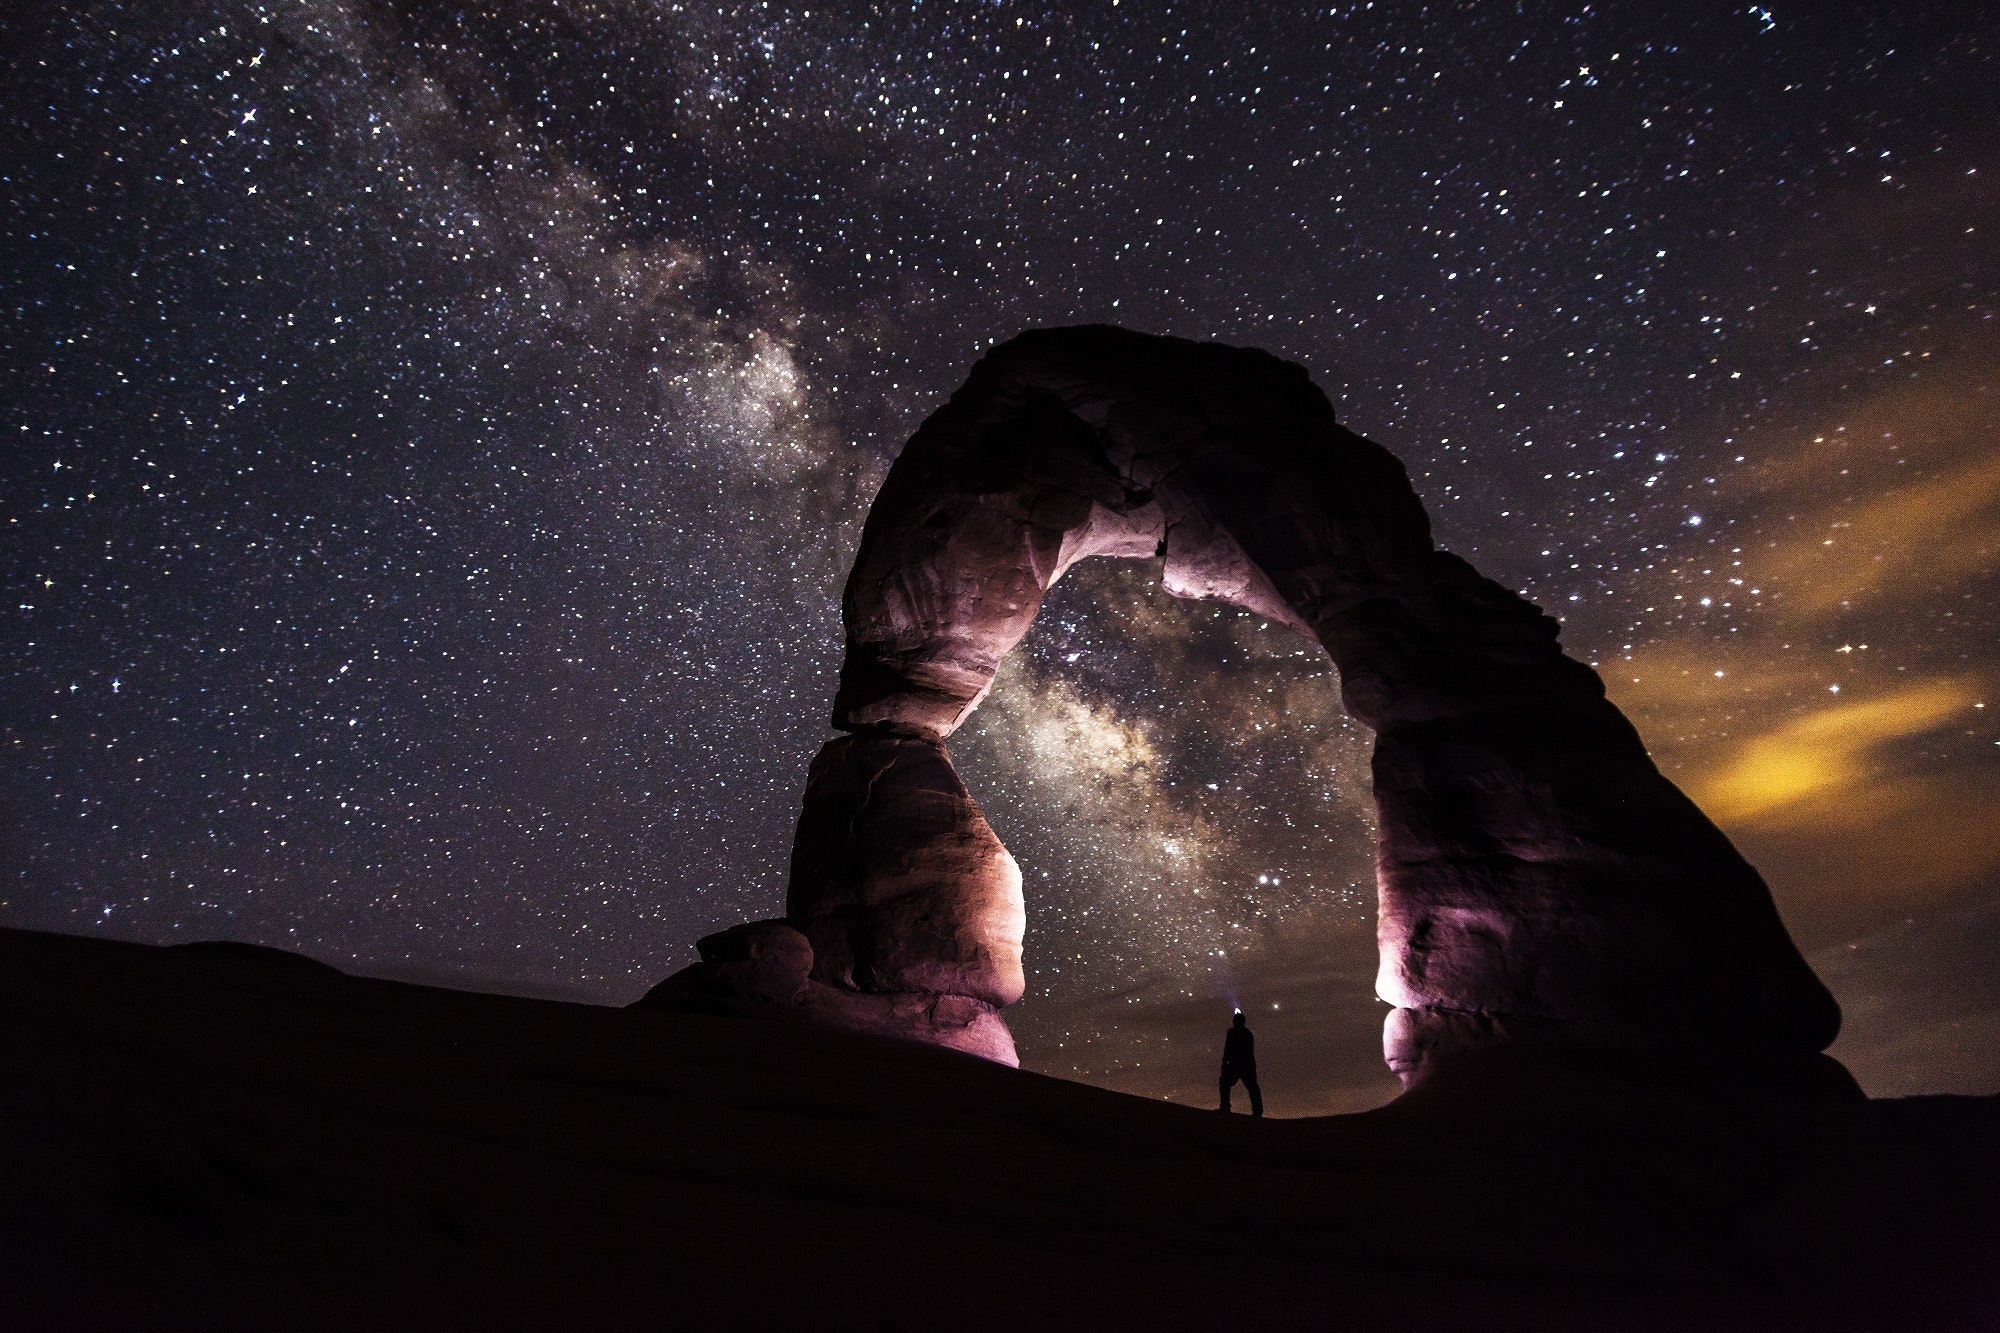
Once you have found your bearings, frame your shot. While any photo of the Milky Way can be beautiful, putting some work into your composition will pay off. Decide between the portrait and landscape modes, highlight foreground or background elements, etc.
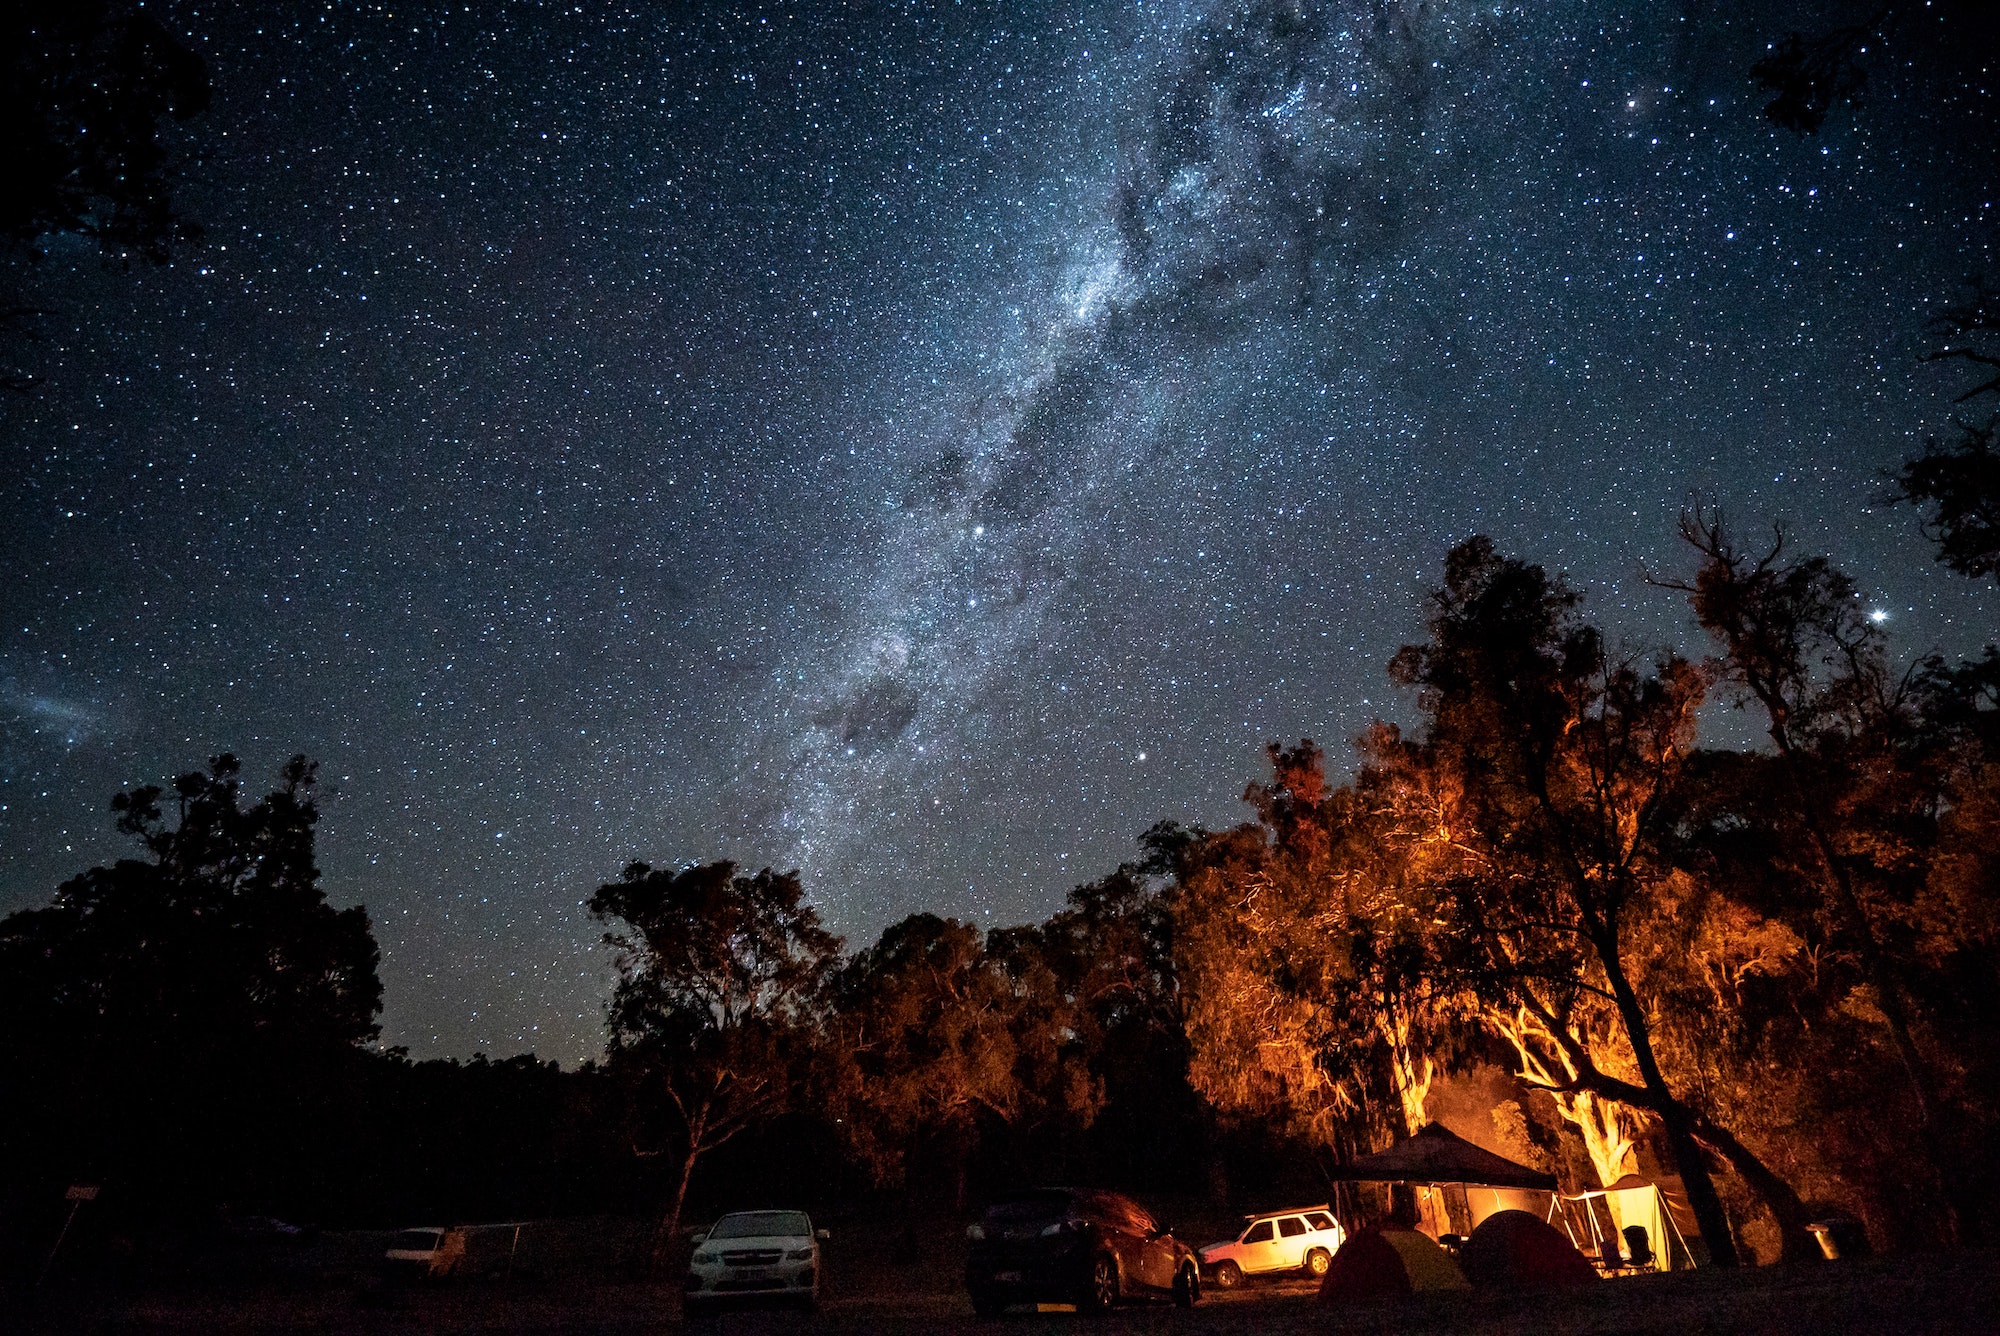
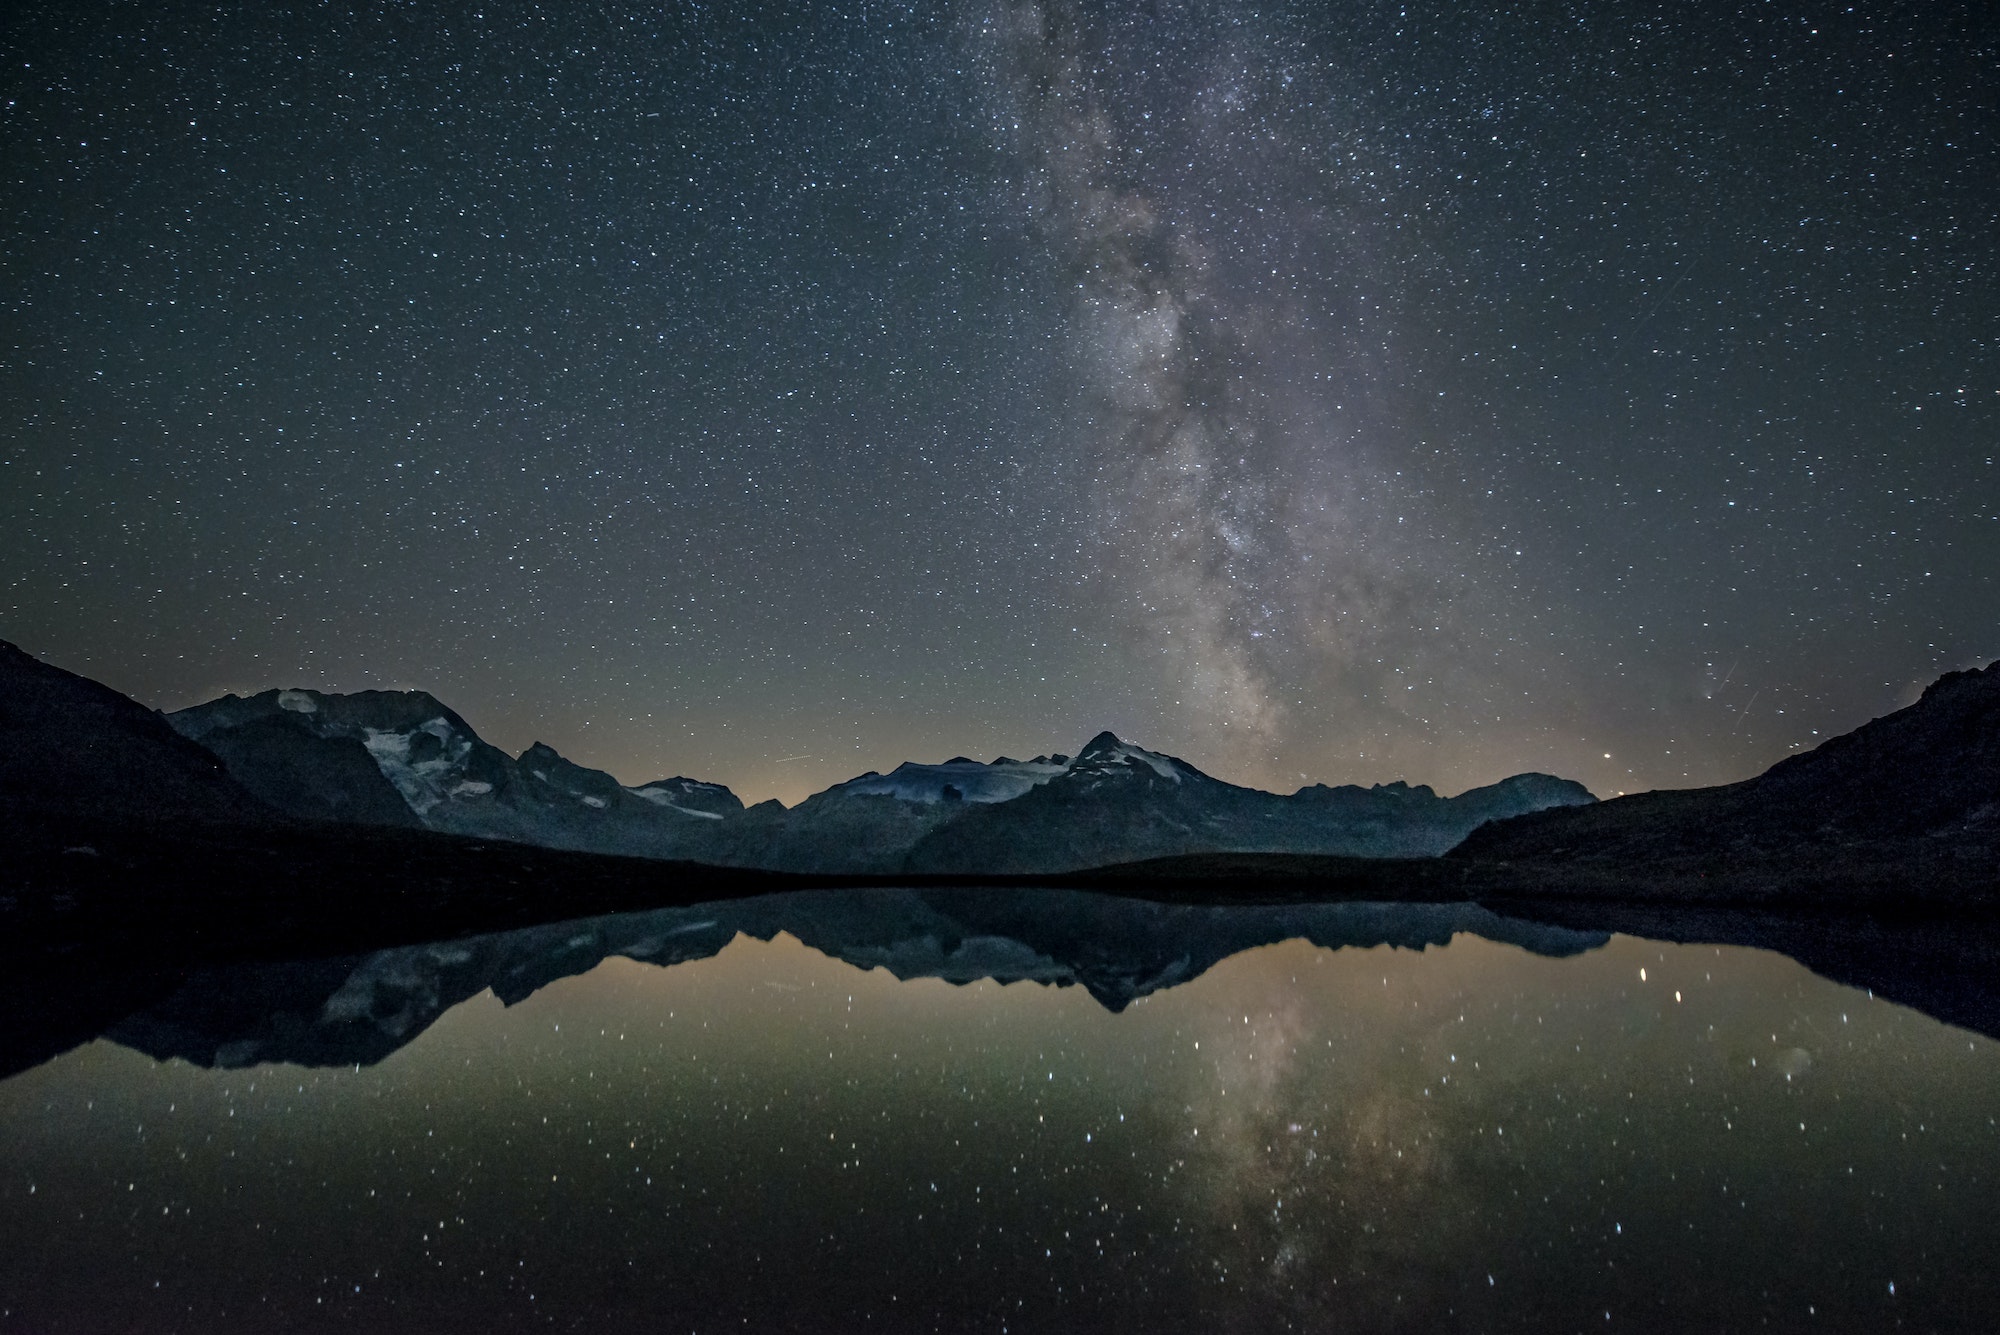
Mountains, dunes, a forest clearing, a beach, a reflecting lake, old buildings, etc.: interesting foreground elements can make for elegant Milky Way photos. To highlight these features, and to help you focus, you can illuminate them with a headlamp, with your phone, or even an LED panel.
Perform composition and framing tests ahead of time on the day of the shooting to find your optimal settings.
The finishing touches
Now that the day of the shoot has arrived, try to get to your location by day, during the golden hour, to set everything up and make any final adjustments: your placement, framing, composition, aperture, etc.
Arriving before nightfall will allows you to prepare your photos with greater precision and leave more time for taking pictures of the Milky Way. Early preparation will also make sure you don’t disturb other photographers who might be working in the vicinity.
When you’re all set, start testing: your maximum ISO, exposure times, aperture settings, etc. until you’re confident and ready.
Focusing
Manual focus is the final setting before the shoot: make sure the Milky way is going to be in focus and avoid blurry stars. There are two types of focus for astrophotography:
- Infinity focus
Infinity focus is a hyperfocal distance setting available on a number of camera models. It is represented by the symbol ∞ on the focus ring. It allows you to obtain sharp images with a better depth of field.
Note, however, that this “infinity” focus may not be the ideal setting for photographing the Milky Way. Depending on your project, it may be better to use manual focus, especially if you’re aiming to take less conventional pictures.
- Manual focus
As an alternative to infinity focus you can focus using your camera’s or phone’s Live View. Use your screen to focus on the brightest star, or the one automatically selected by your camera, and center on it. This might be Vega in summer and Sirius in winter.
Zoom in on that star using the Live View magnifier and adjust the focus using the focusing ring until the star is as small as possible and the entire scene is in focus. Then test to see how sharp your image is and adjust accordingly. Once you’ve found the right setting, turn off Live View and don’t touch your focusing ring again.
Enjoy the show
Once you’ve made your final adjustments, use your remote shutter release or a self-timer to start taking pictures of the Milky Way. And don’t forget to enjoy the starlit spectacle in front of you.
Once you have the Milky Way photo you were looking for, you can take shots with different settings to get different results.
Processing your Milky Way photos
To make the most of your Milky Way photos, you might want to retouch and rework them using editing software (Lightroom, Photoshop, etc.). While post processing is not a requirement, it can allow you to correct some defects, enhance the colors, or create original creative montages (by collaging several photos).
In a nutshell, processing a Milky Way photo means:
• Adjusting contrast
• Adjusting brightness
• Adjusting white balance and color saturation
• Eliminating unwelcome artifacts
• Reducing digital noise
Go ahead and play with these options to get great Milky Way photos. For best results, remember to edit your photos in RAW format.
You have now mastered the basic rules of astrophotography. If everything isn’t perfect at your first attempt, don’t get discouraged: the important thing is to practice and experiment until you’re confident and able to anticipate the results. With the right settings and preparation, you will create a stunning Milky Way photo.
*True to its eco-responsible philosophy, MPB website offers its expertise to help you make the best choice in used cameras, while providing a safe platform for buying, selling, and trading photo equipment.